

How to Grow Dahlias from Tubers for Beginners
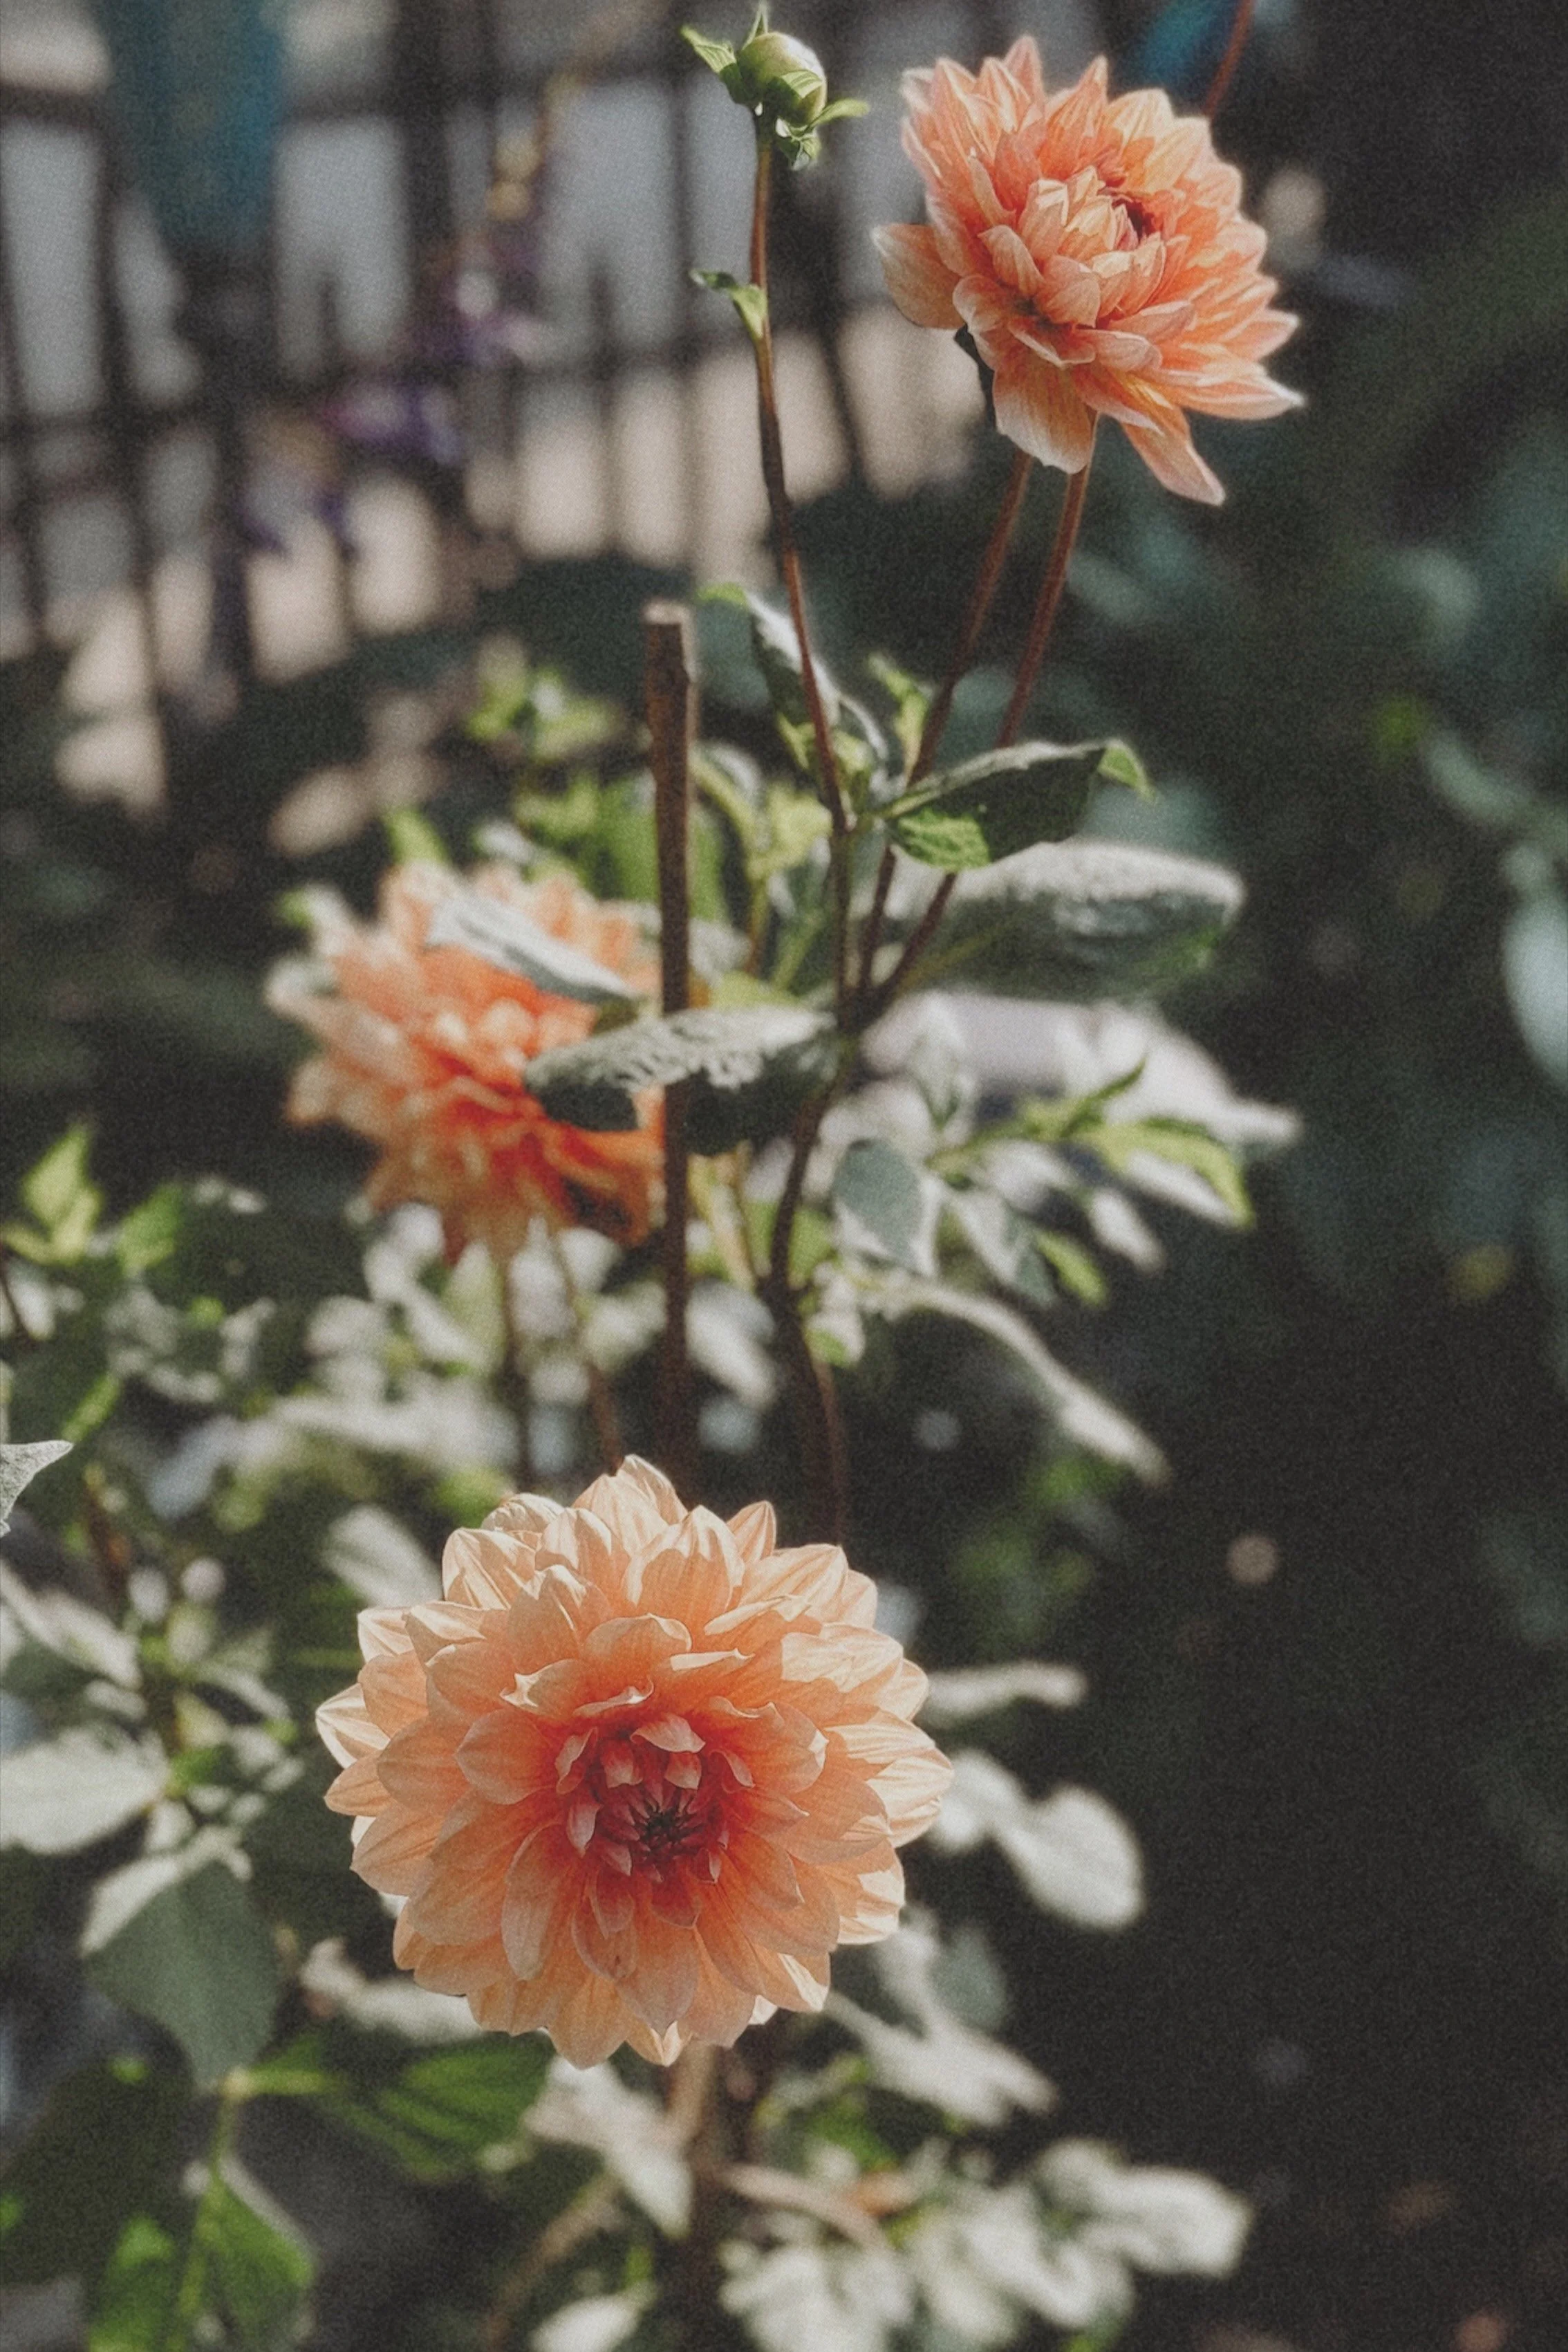
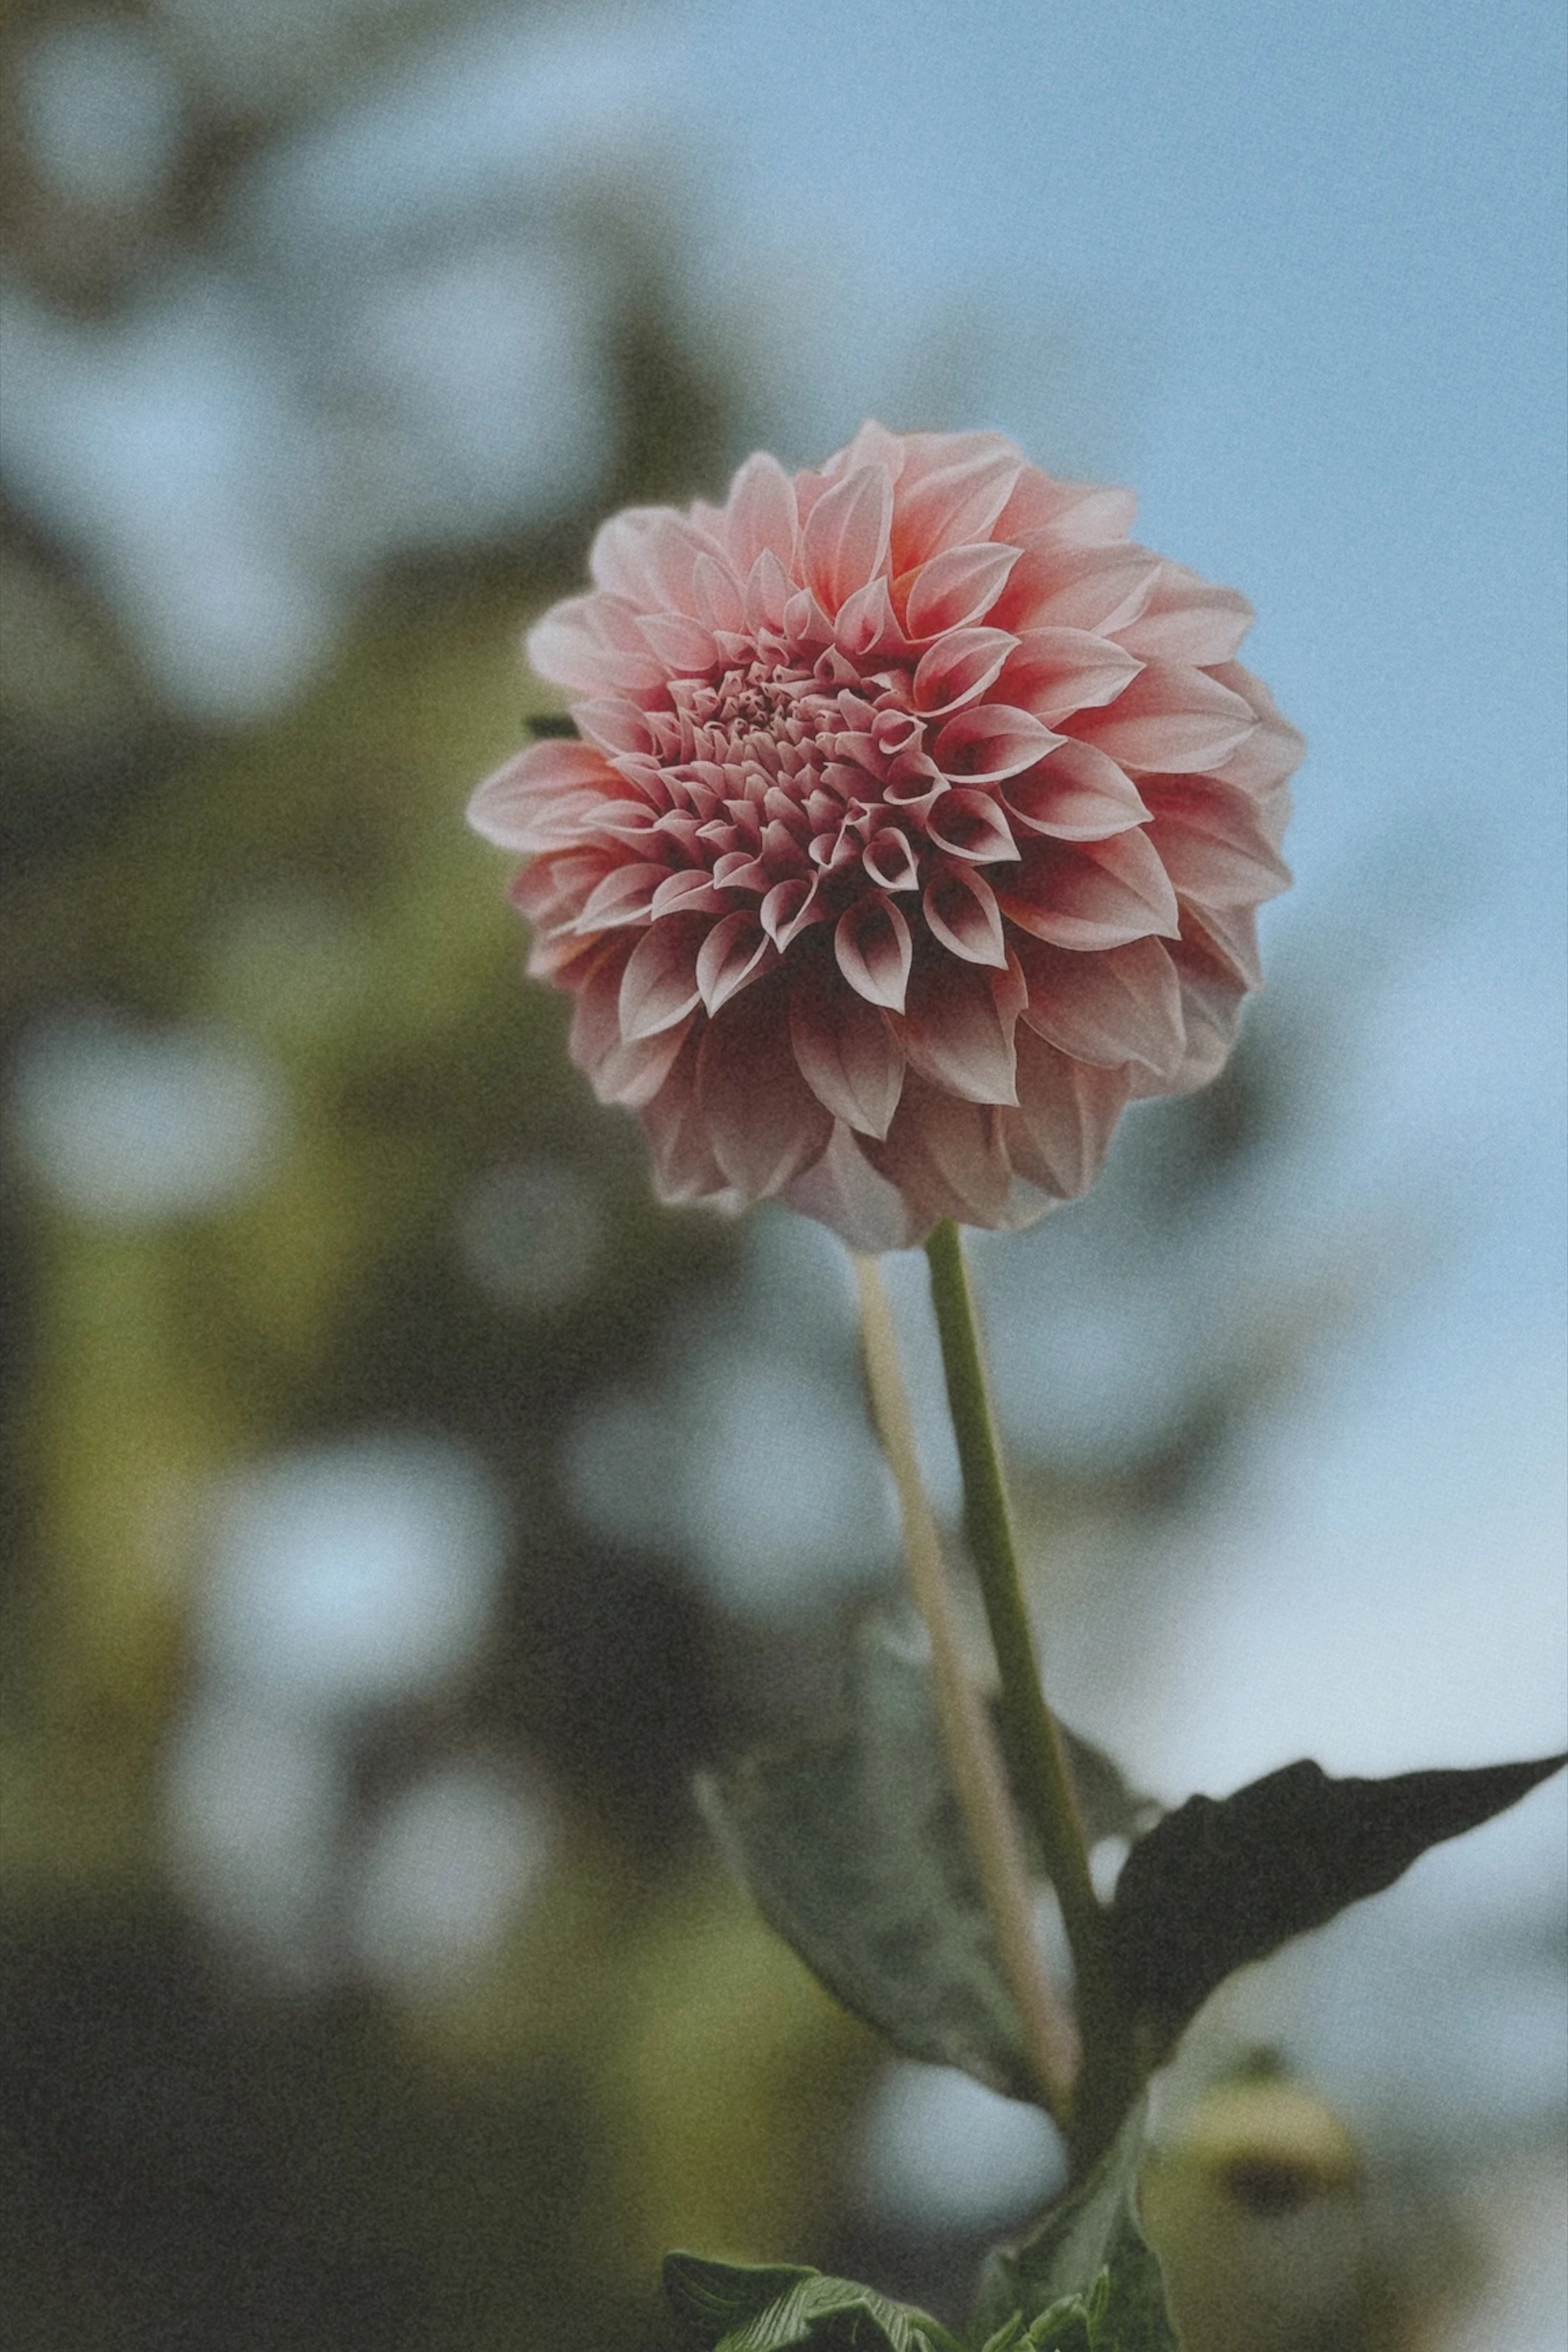
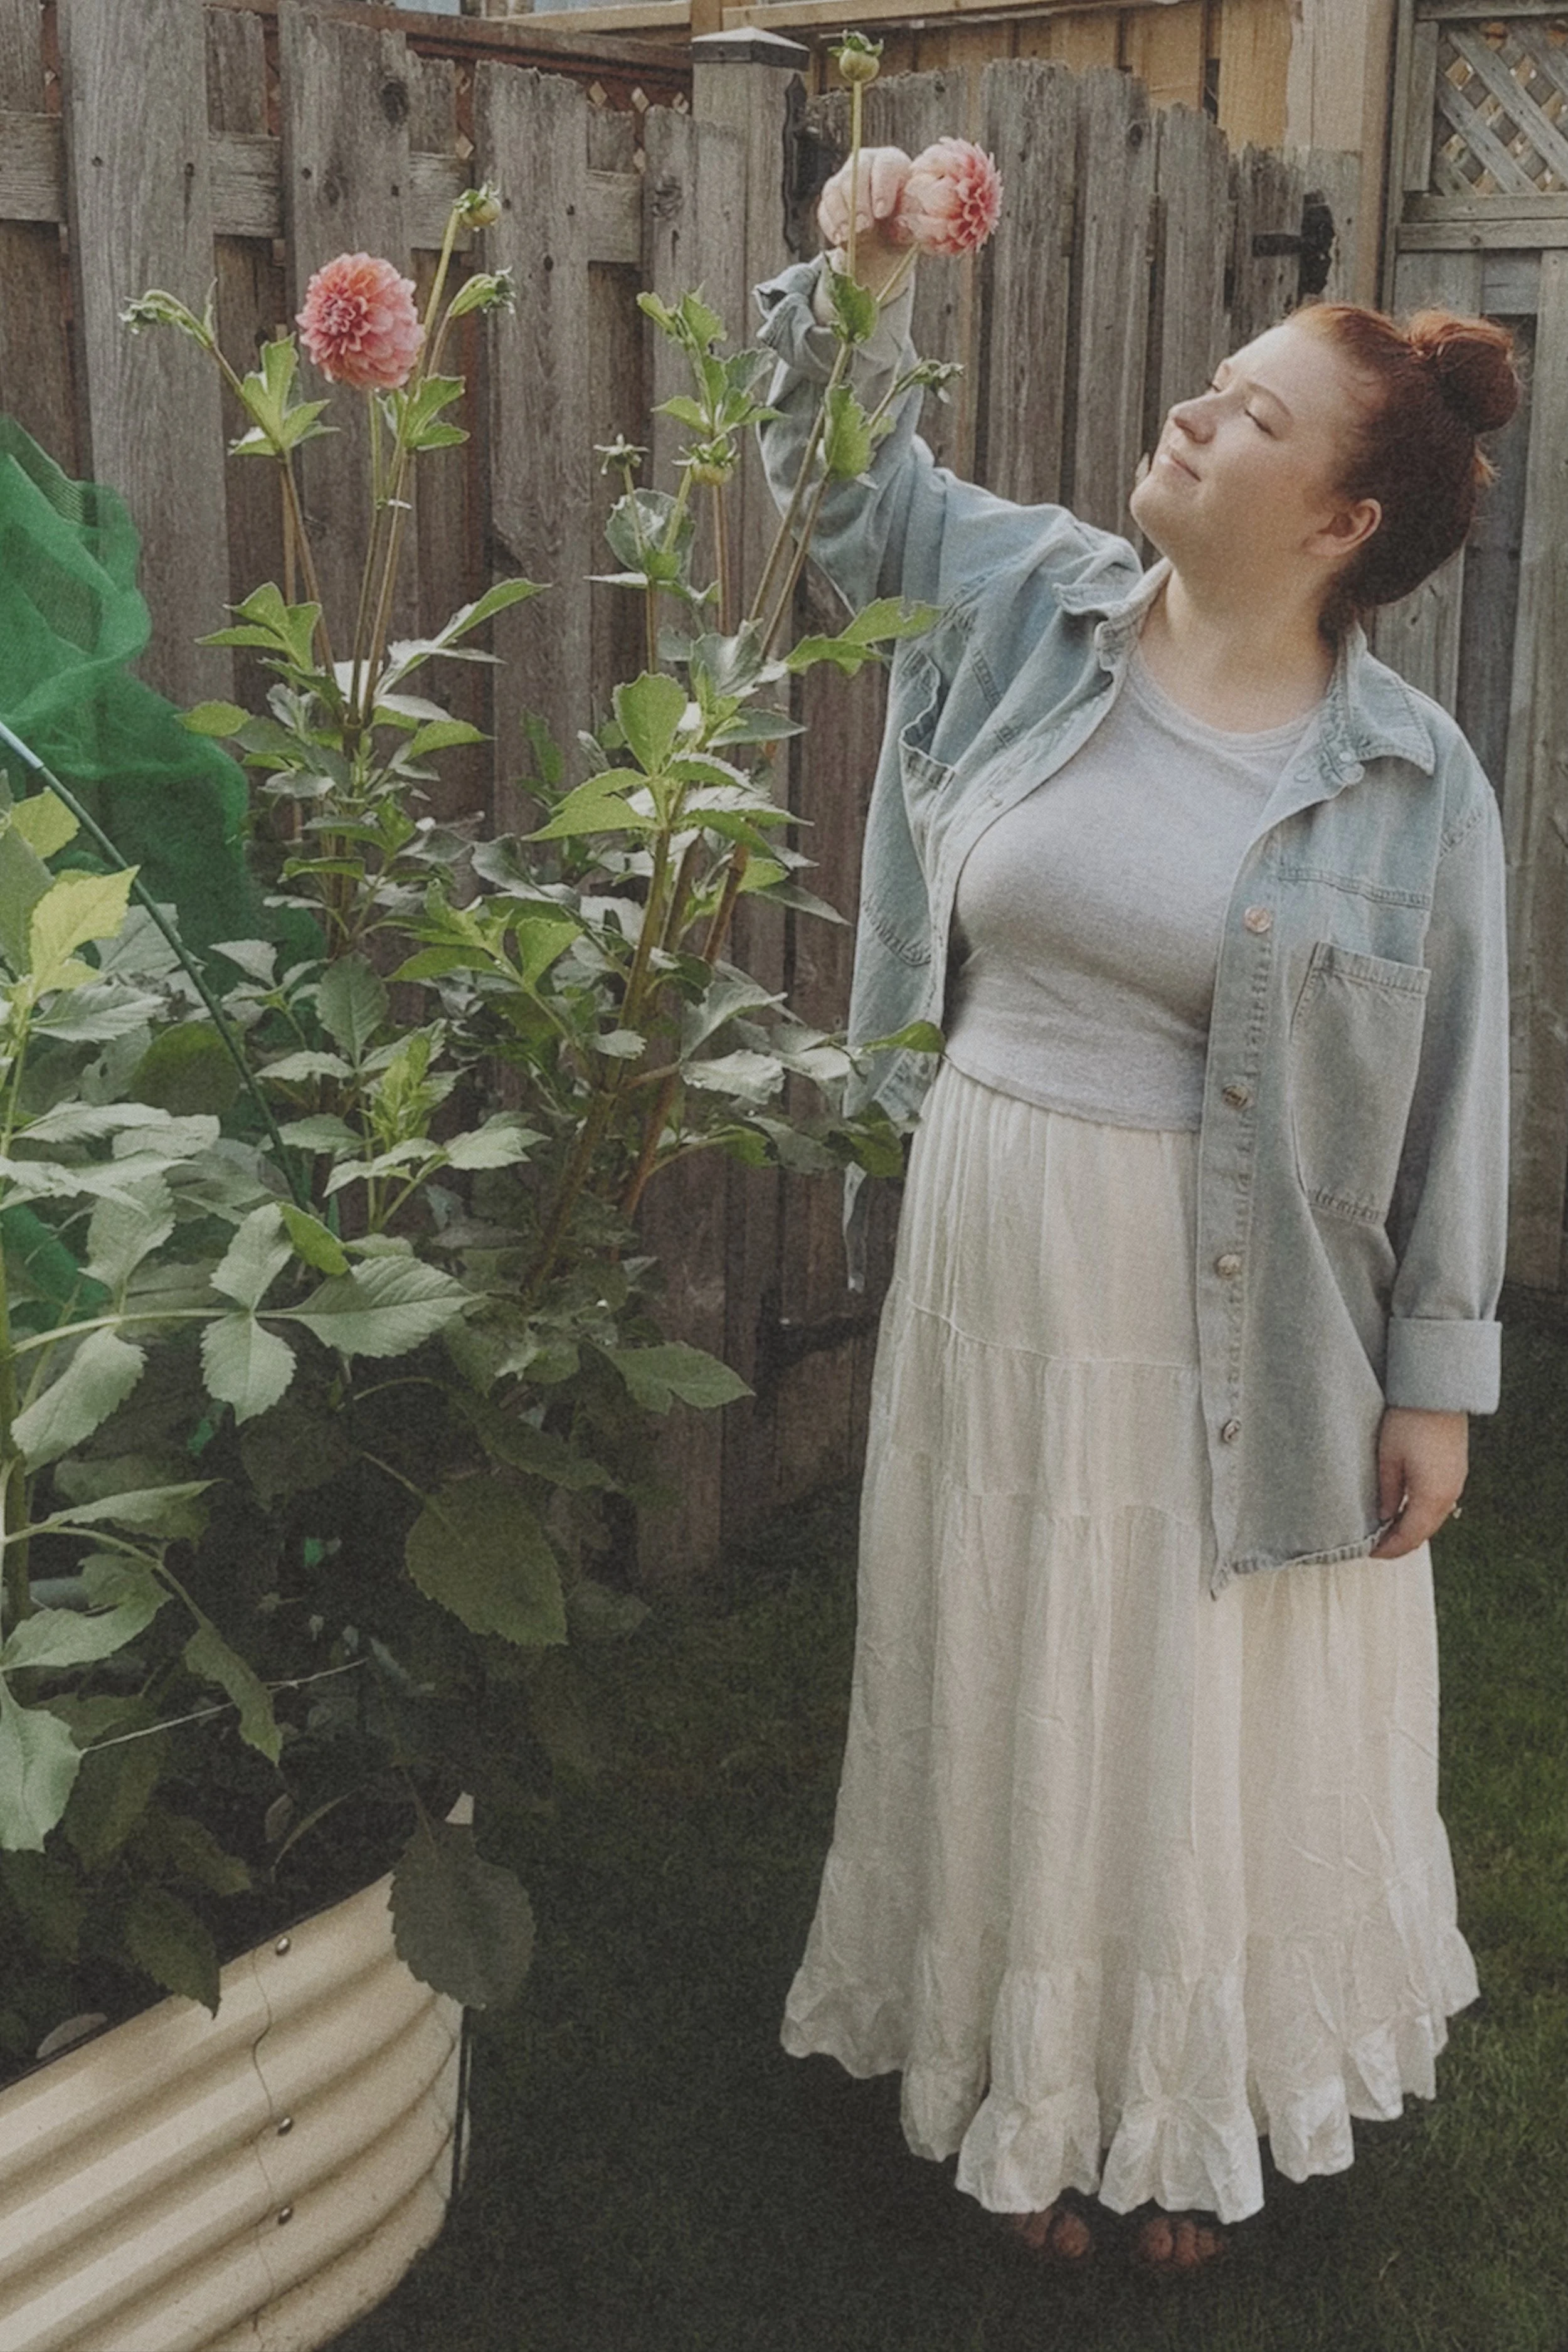
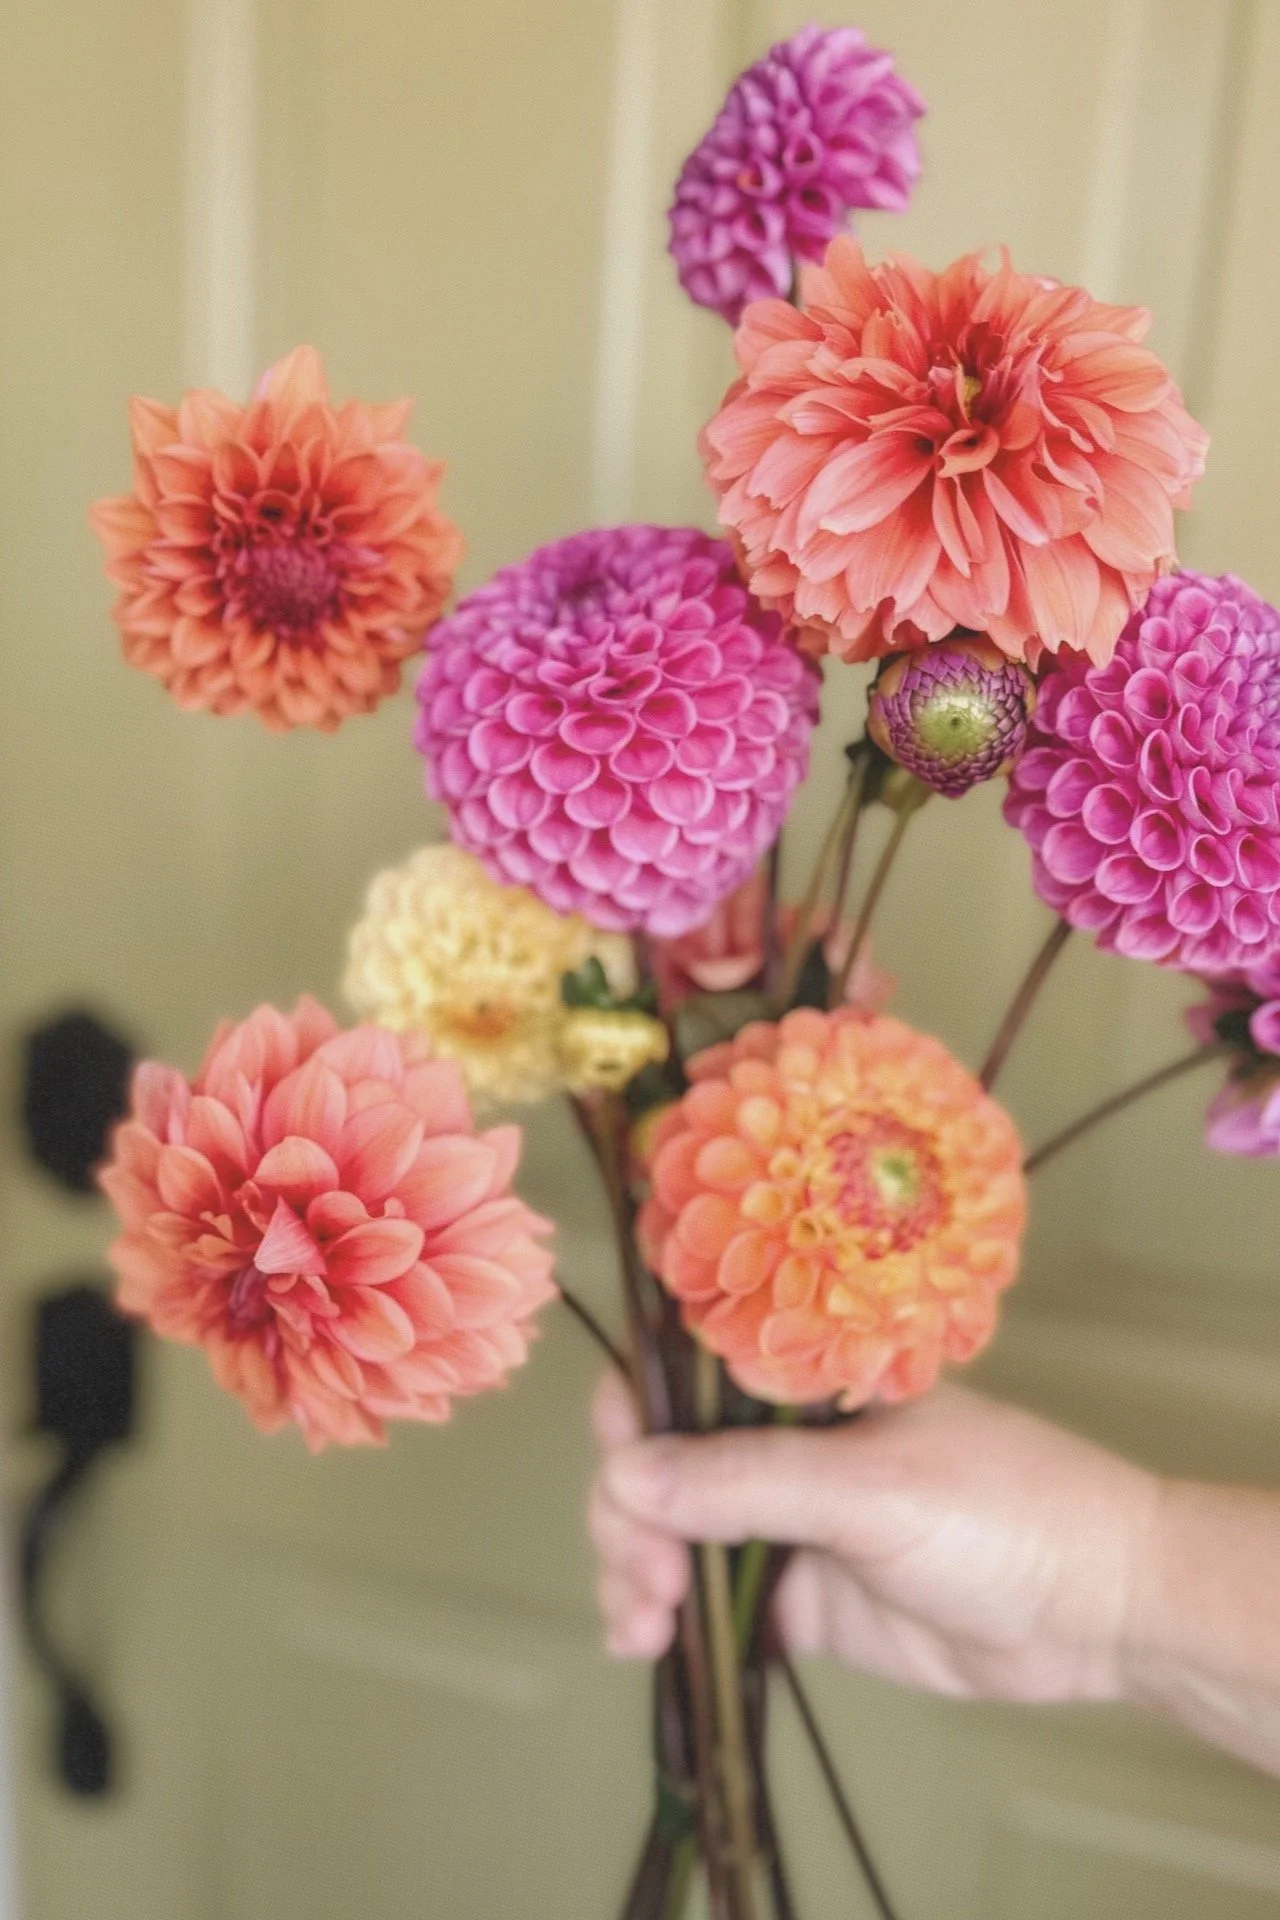
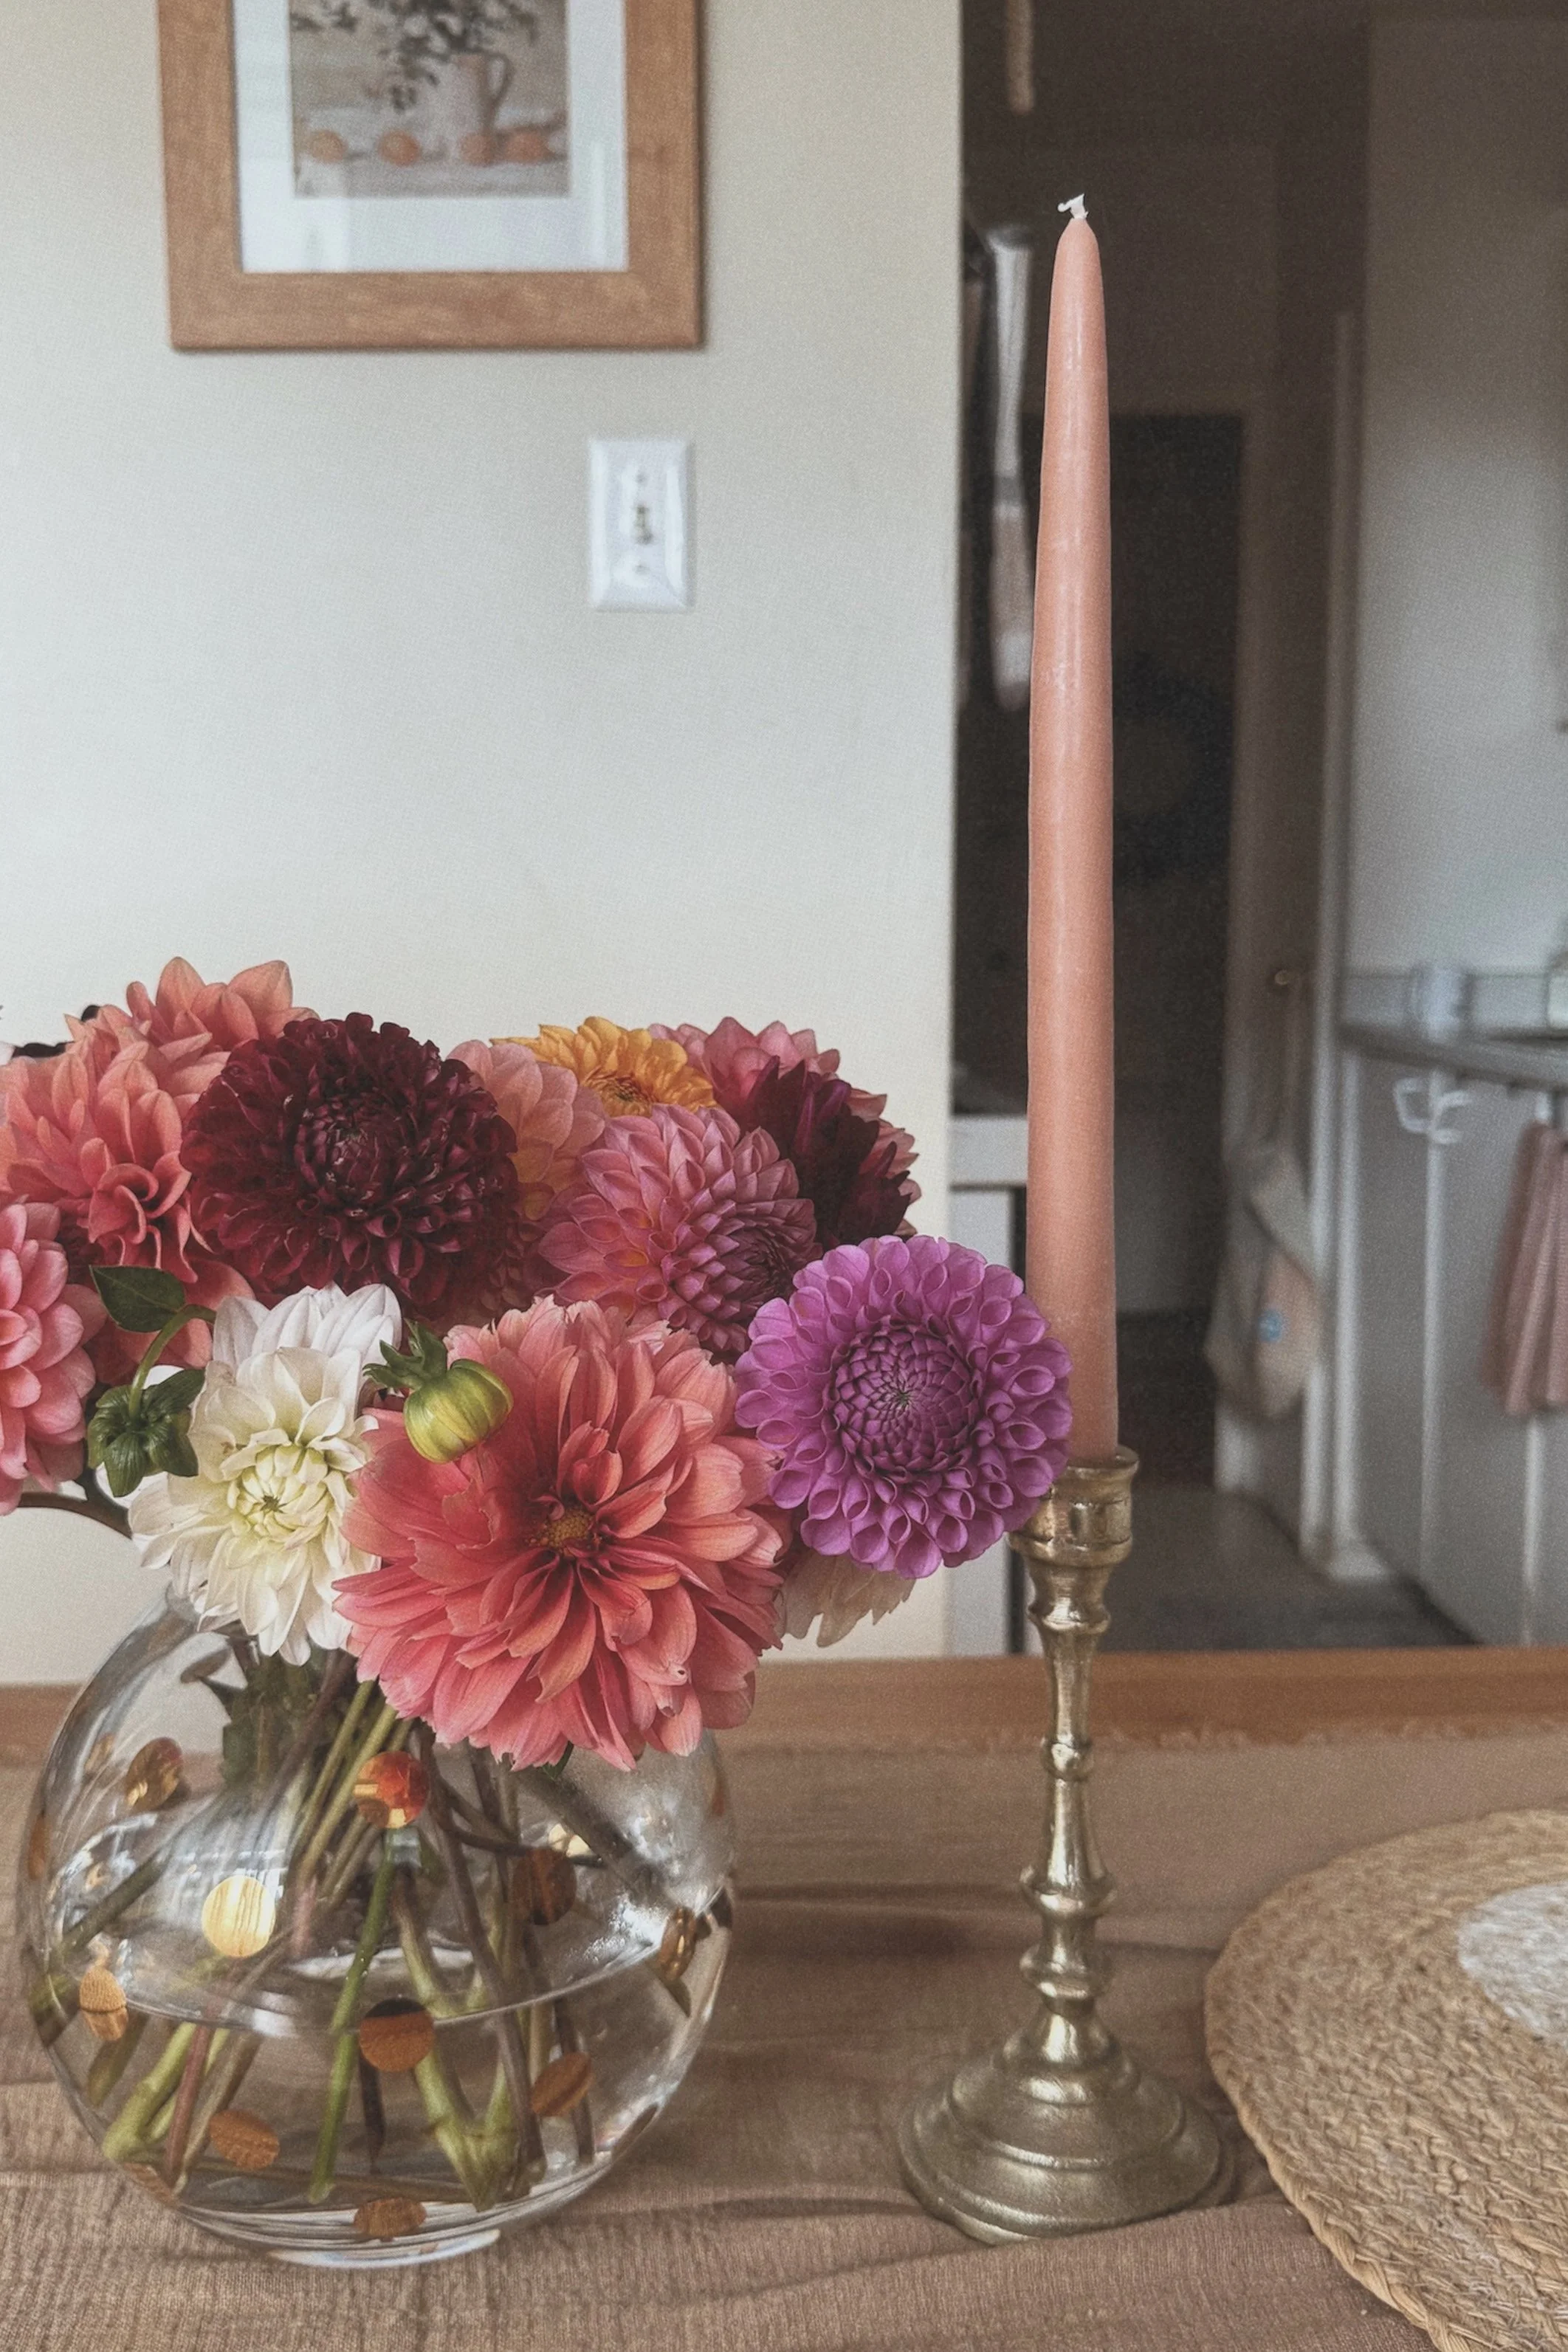
If I’m being honest with myself (and you), I have to admit that I think one of my absolute favourite flowers to grow is dahlias. They come in almost any colour, with the exception of blue, and a ton of sizes, shapes and varieties. They make an incredibly cut flower, not so much because they have a great vase life, but because the more you cut, the more they produce! I also love them because they attract tons of pollinators and frankly, they’re just a stunning display of what Mother Nature has to offer. So, let’s talk about growing dahlias from tubers.
What is a Dahlia Tuber?
To start, you may be wondering… what is a tuber? How do I grow that? And why is growing dahlias from a seed different? A tuber is similar to a seed in the sense that dahlias grow from them, but it’s more like an organ that stores nutrients, and looks a lot like a potato or yam. The interesting thing about growing dahlias from tubers is that this is the only way you can guarantee a type of dahlia! Growing dahlias from seed is essentially like a roll of a dice – you never know what you’re going to get, but with a tuber, you can be assured that what you purchase is what will grow. If you just want dahlias and don’t necessarily care what type grows, you can purchase & plant seeds following a standard seed starting method, which I wrote a blog about here. Why growing dahlias is this way, I’m not sure… I’m not a scientist, I just know this is a how it is!
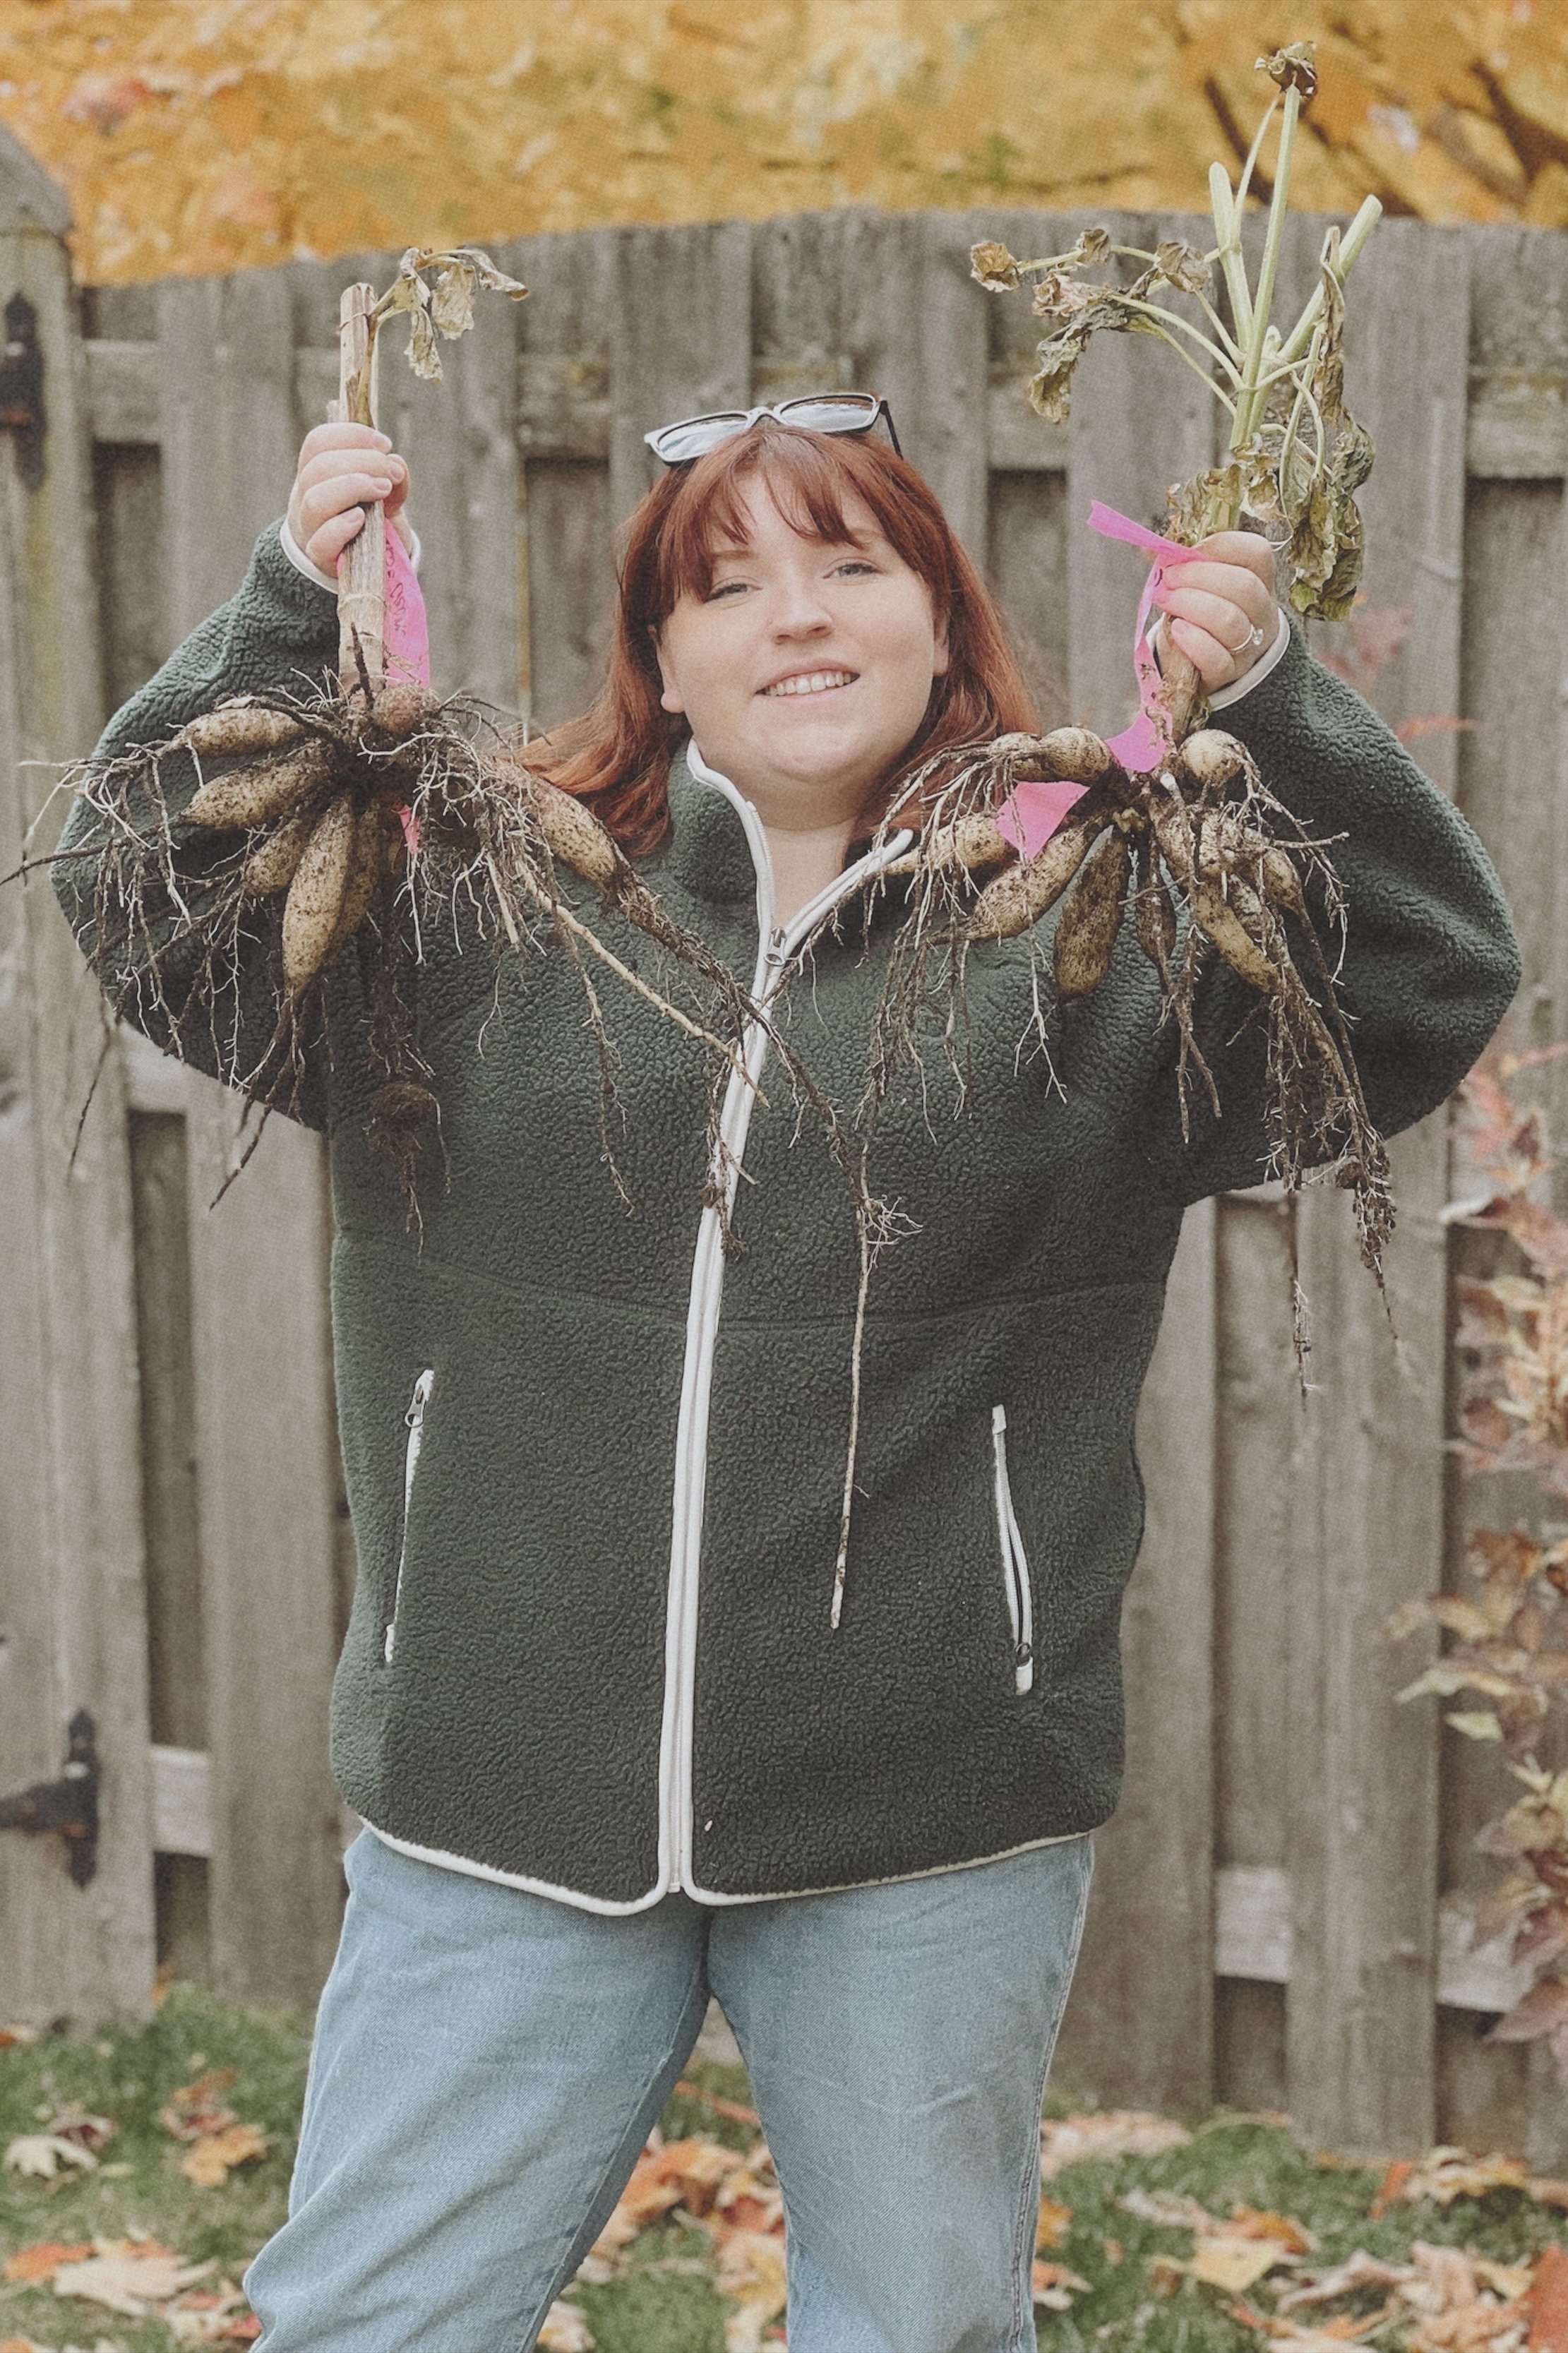
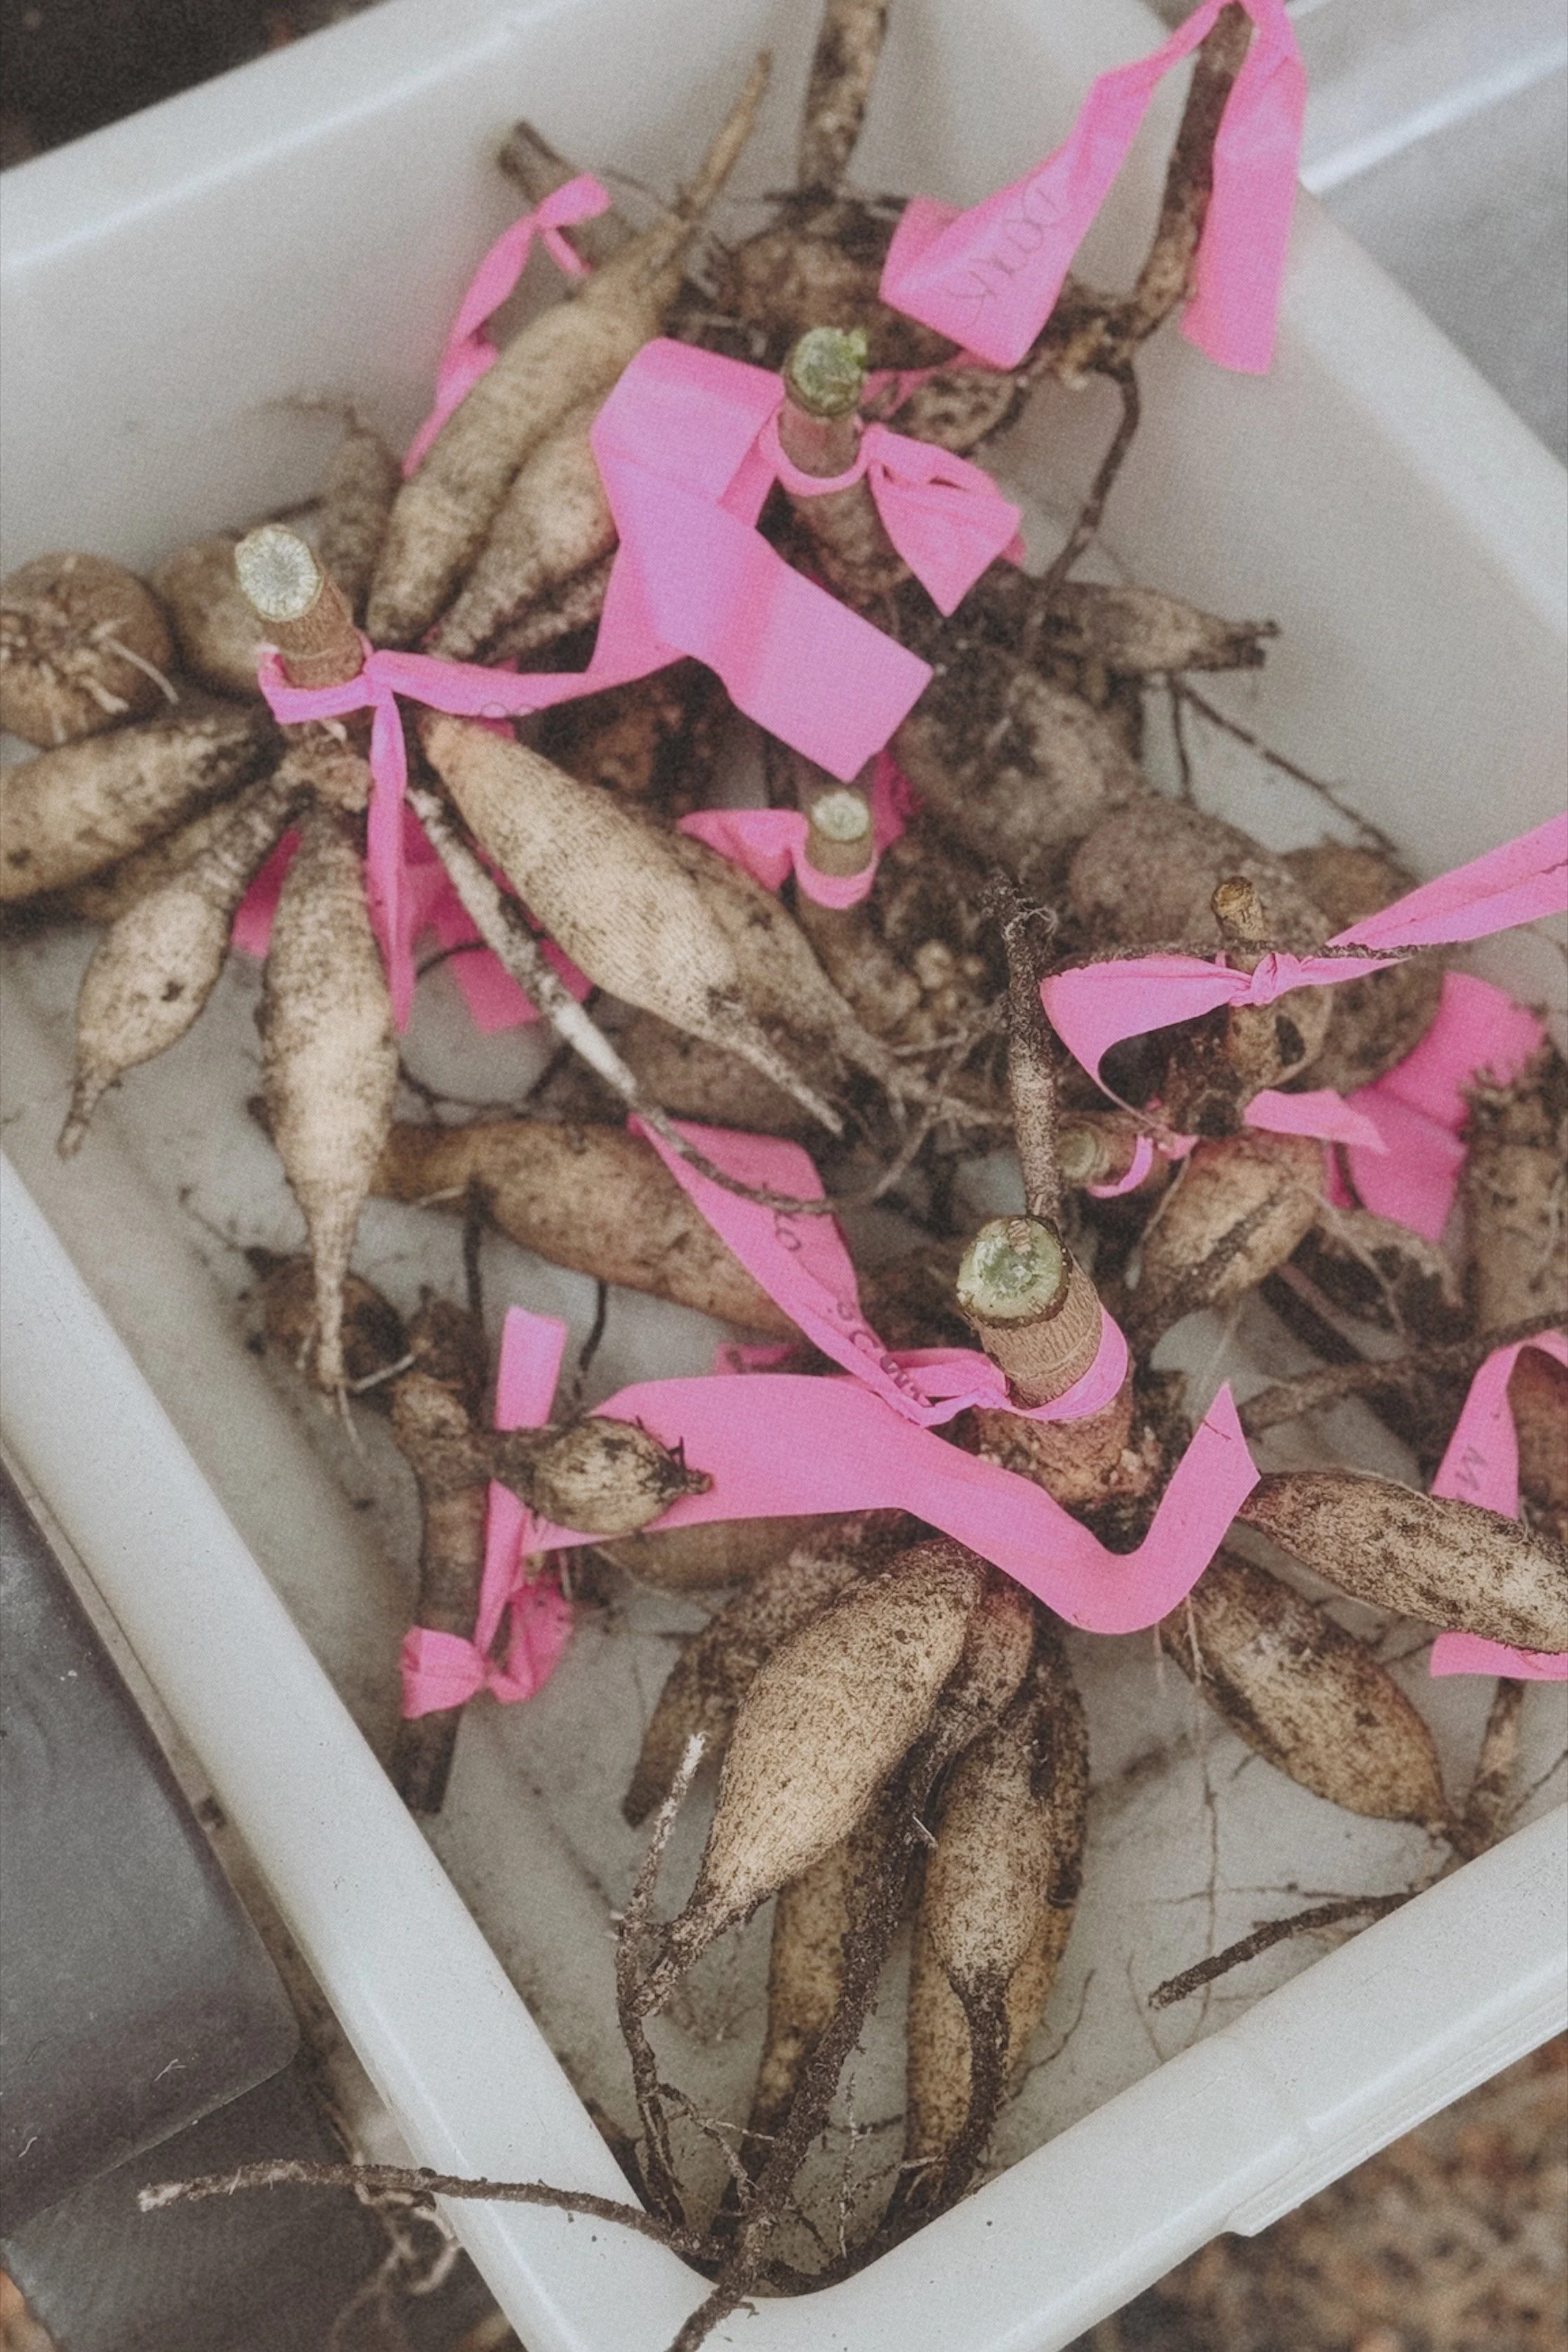
When you purchase a tuber, you’ll likely receive only one tuber that has a body, a neck and an eye. The eye is where your growth will start when you plant it! Throughout the growing season, your tubers will also multiply in the ground, meaning you’ll have even more for the following season if they’re stored correctly. If you have a tuber that grows into 10 more tubers, that doesn’t necessarily guarantee that you’ll have 10 plants for next season – remember, each tuber must have a body, neck and eye, if it doesn’t have that, it’s not a viable tuber. This, however is an entirely different conversation in itself, so let’s stick to the growing methods!
How to Grow Dahlias from a Tuber
The method for growing dahlias is really, quite simple. If you live in a grow zone that gets a harsh, cold winter where the ground freezes, you will need to wait a couple of weeks past your last frost date to ensure that a frost is very unlikely. For example, my last frost date is May 1-10 in zone 5b, but I don’t plant my dahlia tubers until the first weekend in June to ensure there’s no chance of them freezing in the ground – if they freeze, they will rot. This is also why dahlias need to be dug up every fall (usually around late October for my grow zone), and stored away, but again, that’s another conversation!
When planting your dahlia tubers, locate the eye of your tuber and ensure that this is facing up, so as it sprouts, it will grow out of the ground up straight. Usually by early June, most of my tubers have started to sprout anyways, so this is relatively easy to locate for me. You will be planting your tubers at about 6” deep, placed horizontally, and then covered with soil. If you have sprouts that end up under the soil, don’t worry about it, it’ll come up above the soil all on its own eventually.
The next step is key… do NOT water your dahlia tubers at all until you have a sprout (about 1”) coming through the soil. If you water your dahlias too early, they will rot, and this will kill your tuber. If it rains, do your best to cover them if possible, however I’ve been able to leave mine uncovered in the past if it’s just a light rain. Once this sprout appears above the soil, you can lightly water every couple of days until it reaches about 8-12” tall. When it’s gotten to this height, you can begin to water more regularly and deeply.
Pinching Your Dahlias
Congratulations! Now that your dahlia sprout is about 12” tall, it’s time to pinch it. I’m not going to lie, this is a mildly (emotionally) painful thing, and it feels like you’re setting your growing back, but I promise you, if you want lots of beautiful blooms on your dahlias this year, pinching is your friend, not your enemy.
Pinching is when you cut off a part of the stem to force side shoot growth, which results in producing more flowers throughout the season. In the case of dahlias, once they hit about 12”, you’ll want to give them a hard pinch by cutting of about 3-4”, just above your 4th set of leaves. In a few days time, you’ll notice side shoots starting to form around where you pinched, which means… yay! More flowers!
Dealing with Pests on or in your Dahlias
Inevitably, you’re going to encounter pests in the garden. Some are beneficial, others… not so much. In my case, what we tend to see a lot on, or rather in, our dahlias is earwigs. Yep, gross. However, this can be easily remedied with a simple trick. When you notice you have buds forming on your plants, simply get a mesh, string bag (like you would get a piece of jewelry in), and put it over the bloom and pull it so it’s snug against the stem. This will stop earwigs from crawling into your dahlia petals, and believe me… they don’t want to come out easily, and I unfortunately found that out the hard way.
Where to Buy Dahlia Tubers
I know this blog feels like information overload, but dahlias are a great beginner flower to learn how to grow! If this has inspired you to take a dive into the world of growing dahlias from tuber, you may be wondering where you can get some to grow yourself. Here are some great Canadian growers that I’ve purchased from in the past:
· Dahlia May Flower Farm (🇨🇦)
· Roam Flora (🇨🇦)
· Busy Bee Farm & Florals (🇨🇦)
As the growing season continues on, you’ll be amazed at how big and beautiful your dahlia blooms will become, and like I said… the more you cut, the more the plant produces! I hope this blog could inspire you to begin growing dahlias if you haven’t before, and if you have any questions, please feel free to drop them in the comments below!

* Note: Links and linked products featured in this blog post are commissionable links. Should you purchase a product with these links, I will make a small commission at no additional cost to you.