How I Refinished and Painted My Thrifted Dining Chairs
Disclaimer: This blog should not be used as an instructional breakdown on how to properly and safely sand, paint & seal wood furniture. This is purely to share my experience of how I did it. Please consult a professional on what process and products to use if you are wanting to refinish a solid wood furniture piece.
A few months ago, after having broken dining chairs for literal months, I decided enough was enough, and it was time to get new dining chairs so we could actually sit at our dining table again. We’ve purchased “new” chairs twice, both of which ended up breaking because, let’s face it, nothing is made very well anymore. We decided that the only course of action was to invest in solid wood, but… solid wood is also very expensive!
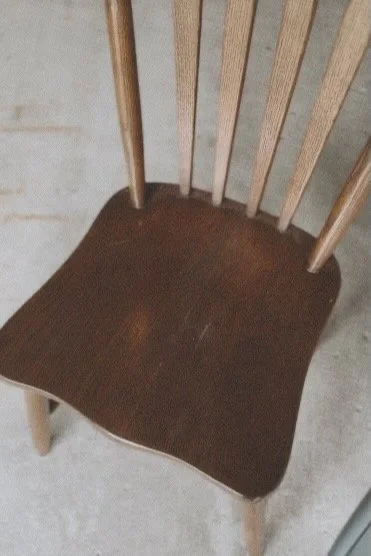
We ended up going to check out a local thrift store to see what we could find, and found two perfect dining chairs that we loved, and were only $8.50 per chair. However, one of them had a massive crack down the middle of the seat, but I figured hey, they owe me nothing if I can’t fix them, and then I got to work!
Step One: Fixing the Seat
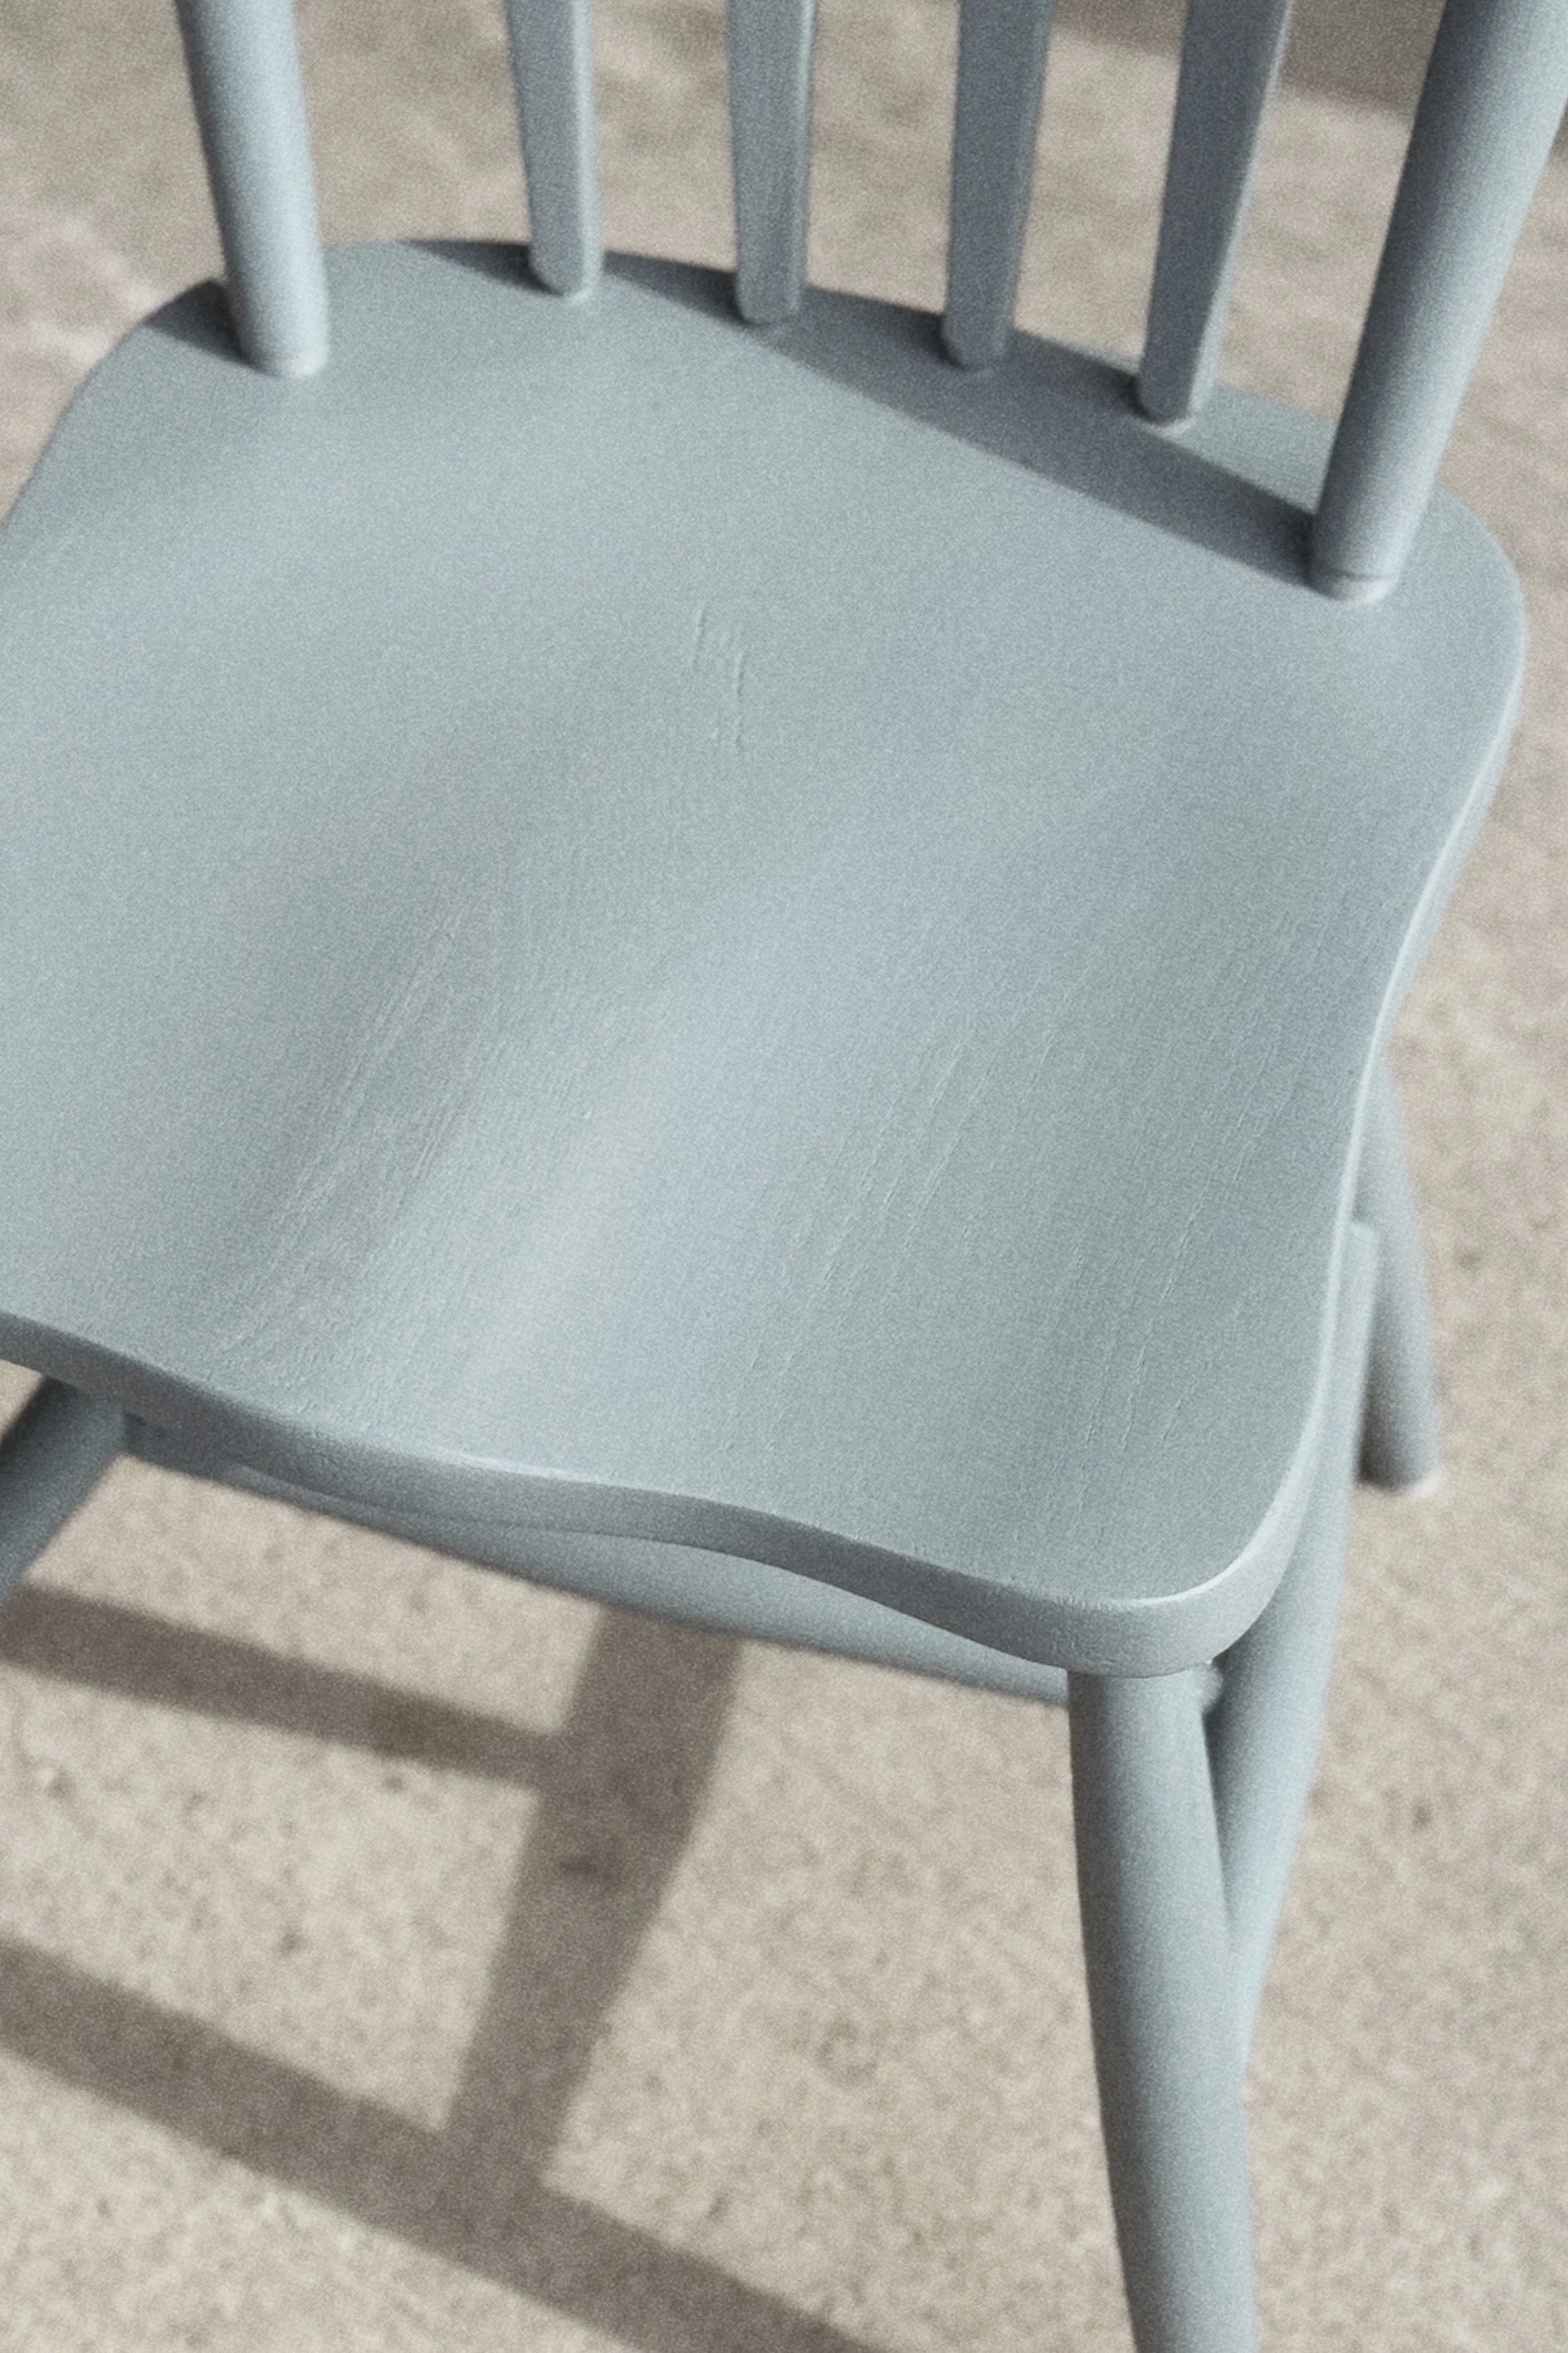
Before I even jumped into the prep work on the wood, I had to fix up the crack down the middle of the seat. Using this Chair Doctor glue from Lee Valley, along with a ratcheting strap pulled as tightly as I could get it (to hold the seat together as tightly as possible), I left it like this for at least a week to fully dry and cure. After that, I tested it by sitting on it, and moving around to ensure there was no movement. Once I felt like it was secure, and properly fixed, I moved onto sanding.
Step Two: Prepping & Sanding
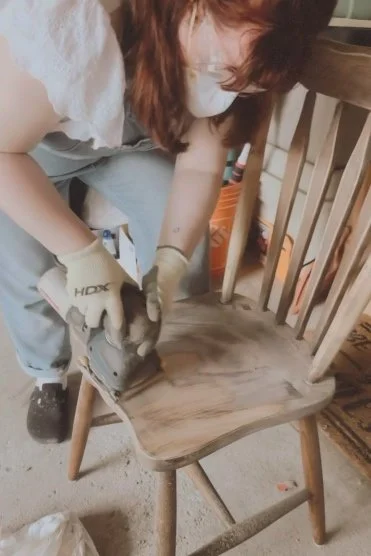
Using a damp cloth, I quickly wiped down the chairs to remove any dirt or dust, allowed it to dry completely and then started the sanding process. I ended up using a combination of a palm sander for the seat, as well as hand sanding the legs and spindles since those were primarily round and hard to get the palm sander between them. I will say, this was the most tedious part of the process, and my arms were quite sore after, but it was a very rewarding feeling when it was complete.
When the sanding was done, I used the same damp cloth to thoroughly remove the dust off of every area of the chair to ensure none of it would end up under the paint, and then allowed it to dry completely before moving onto the painting process.
Step Three: Painting & Sealing
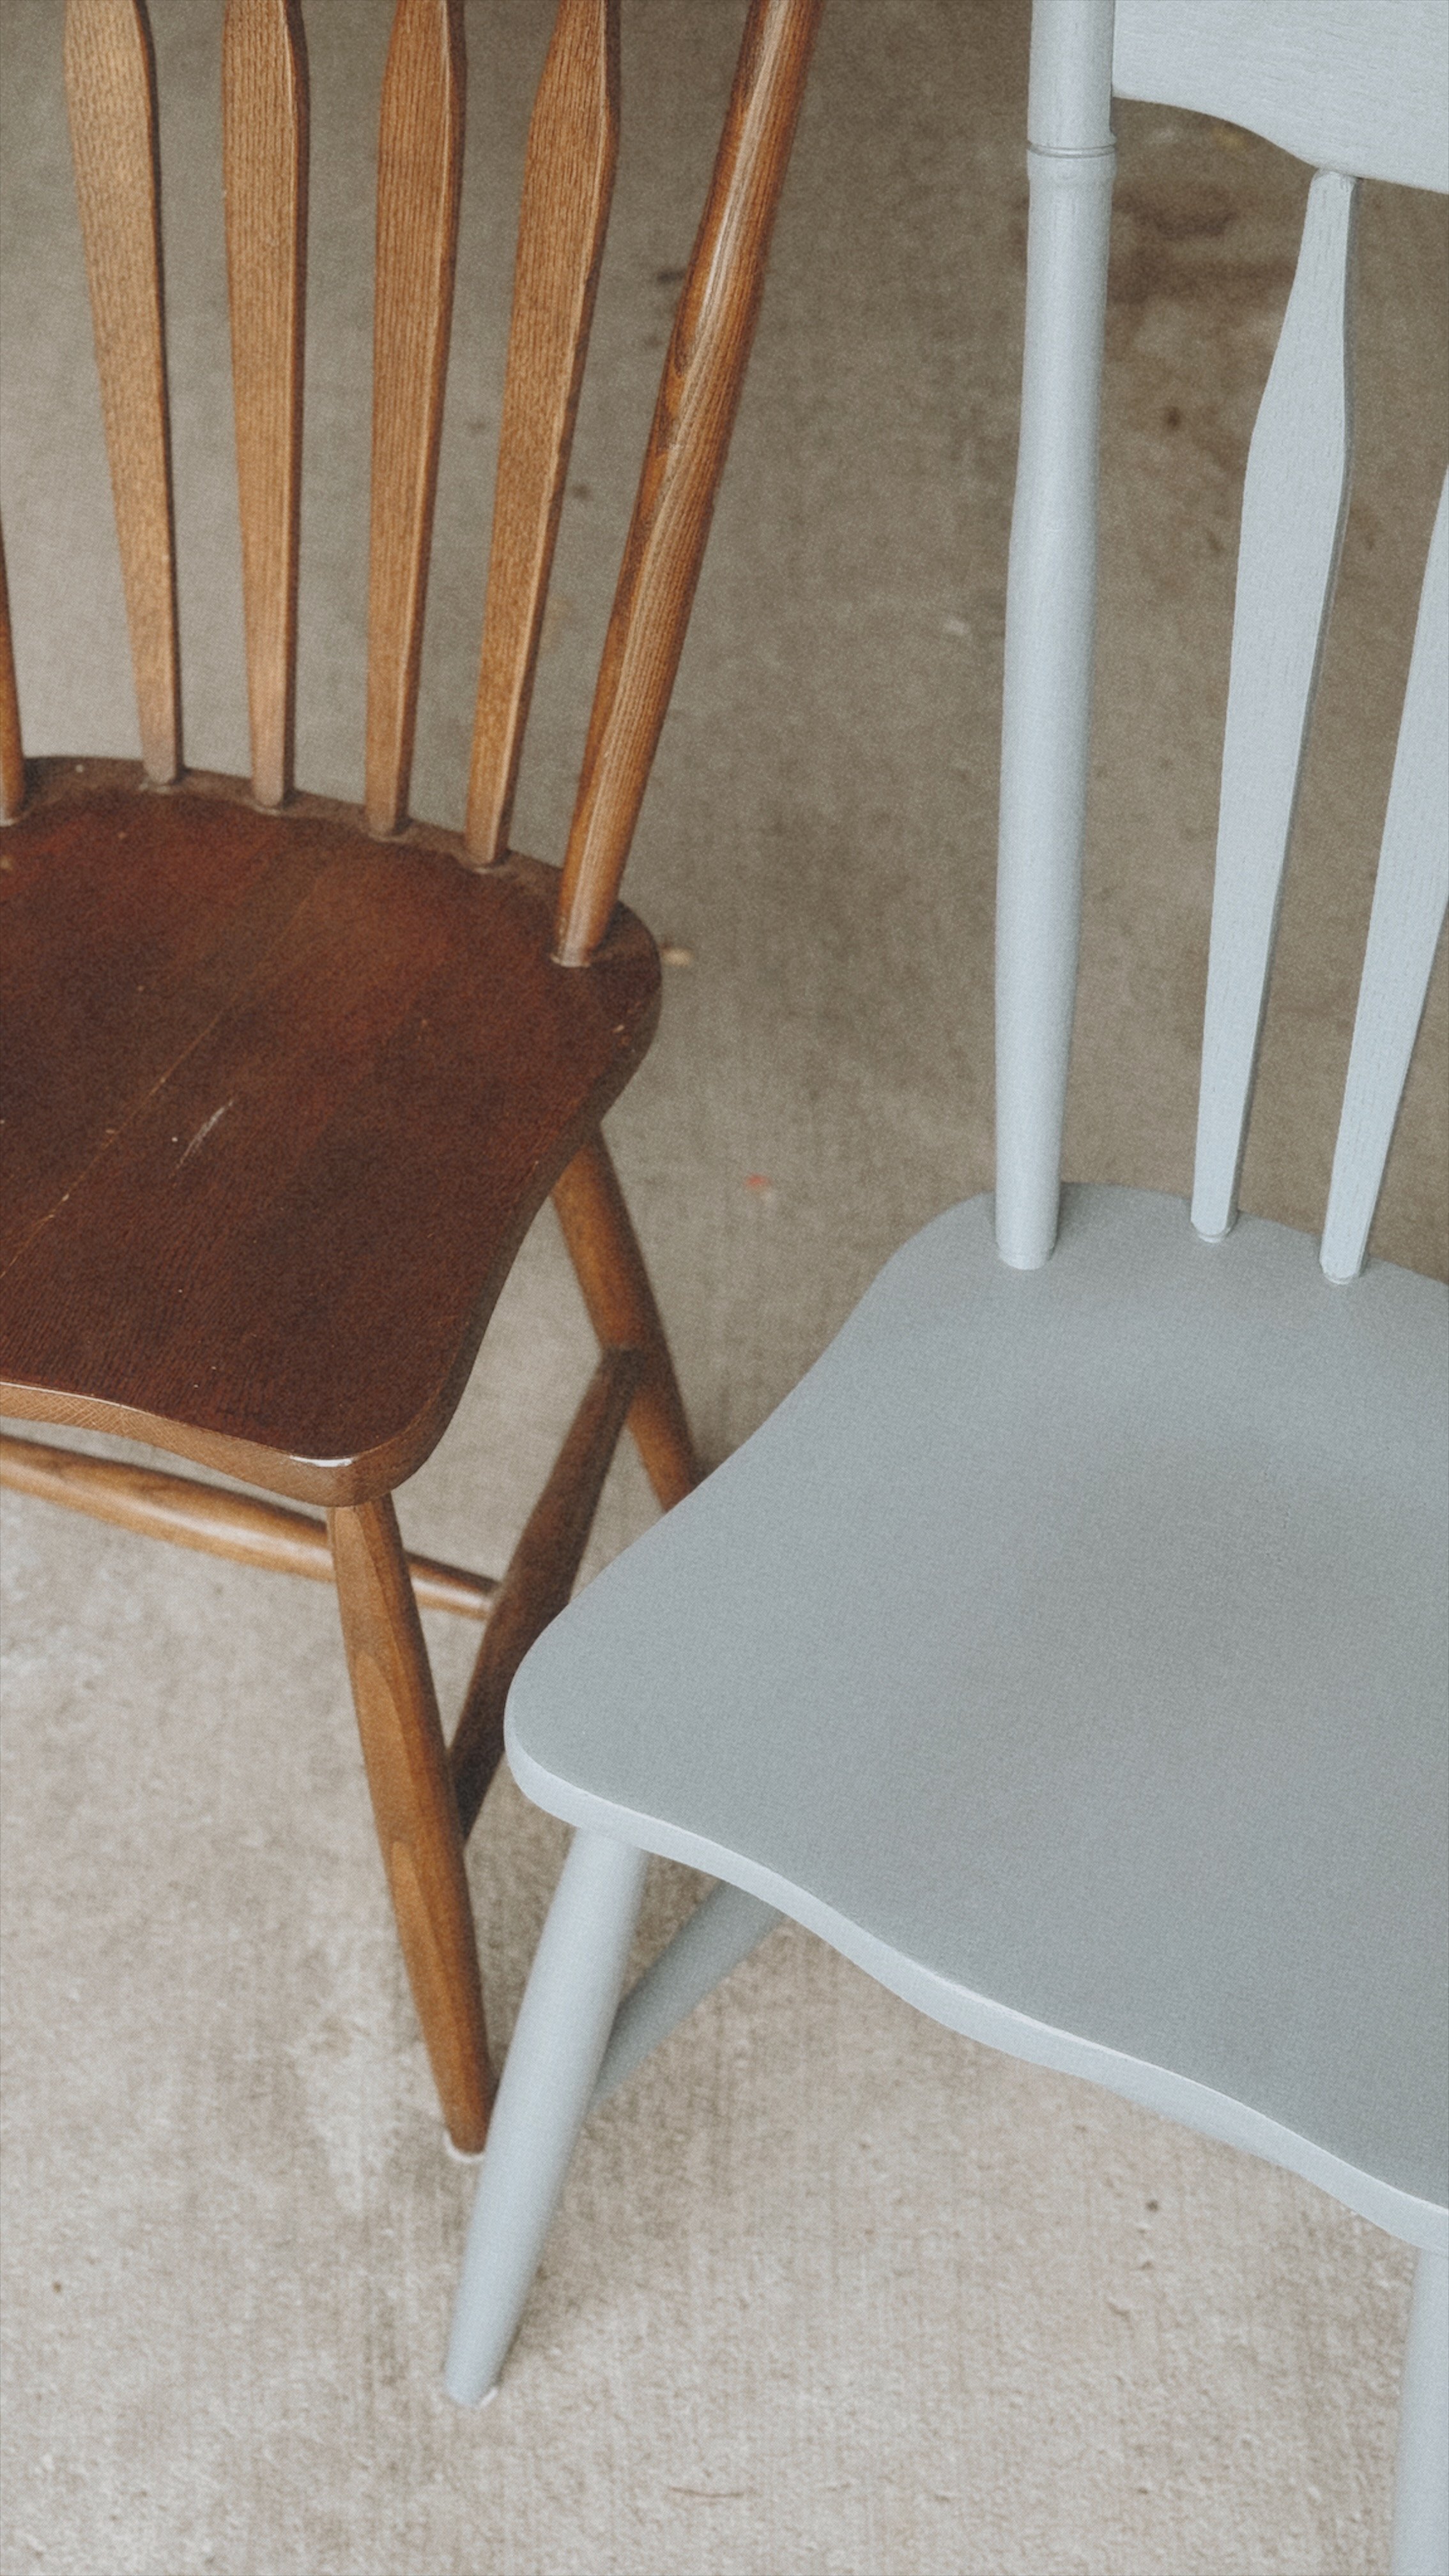
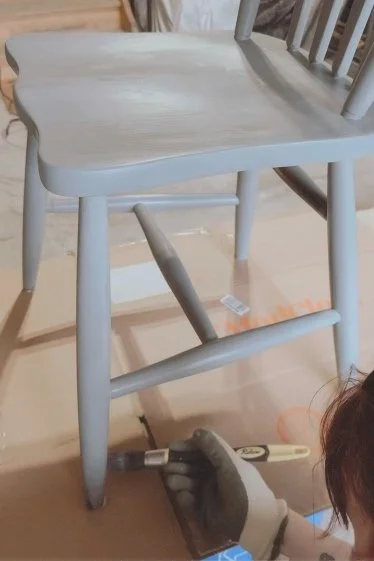
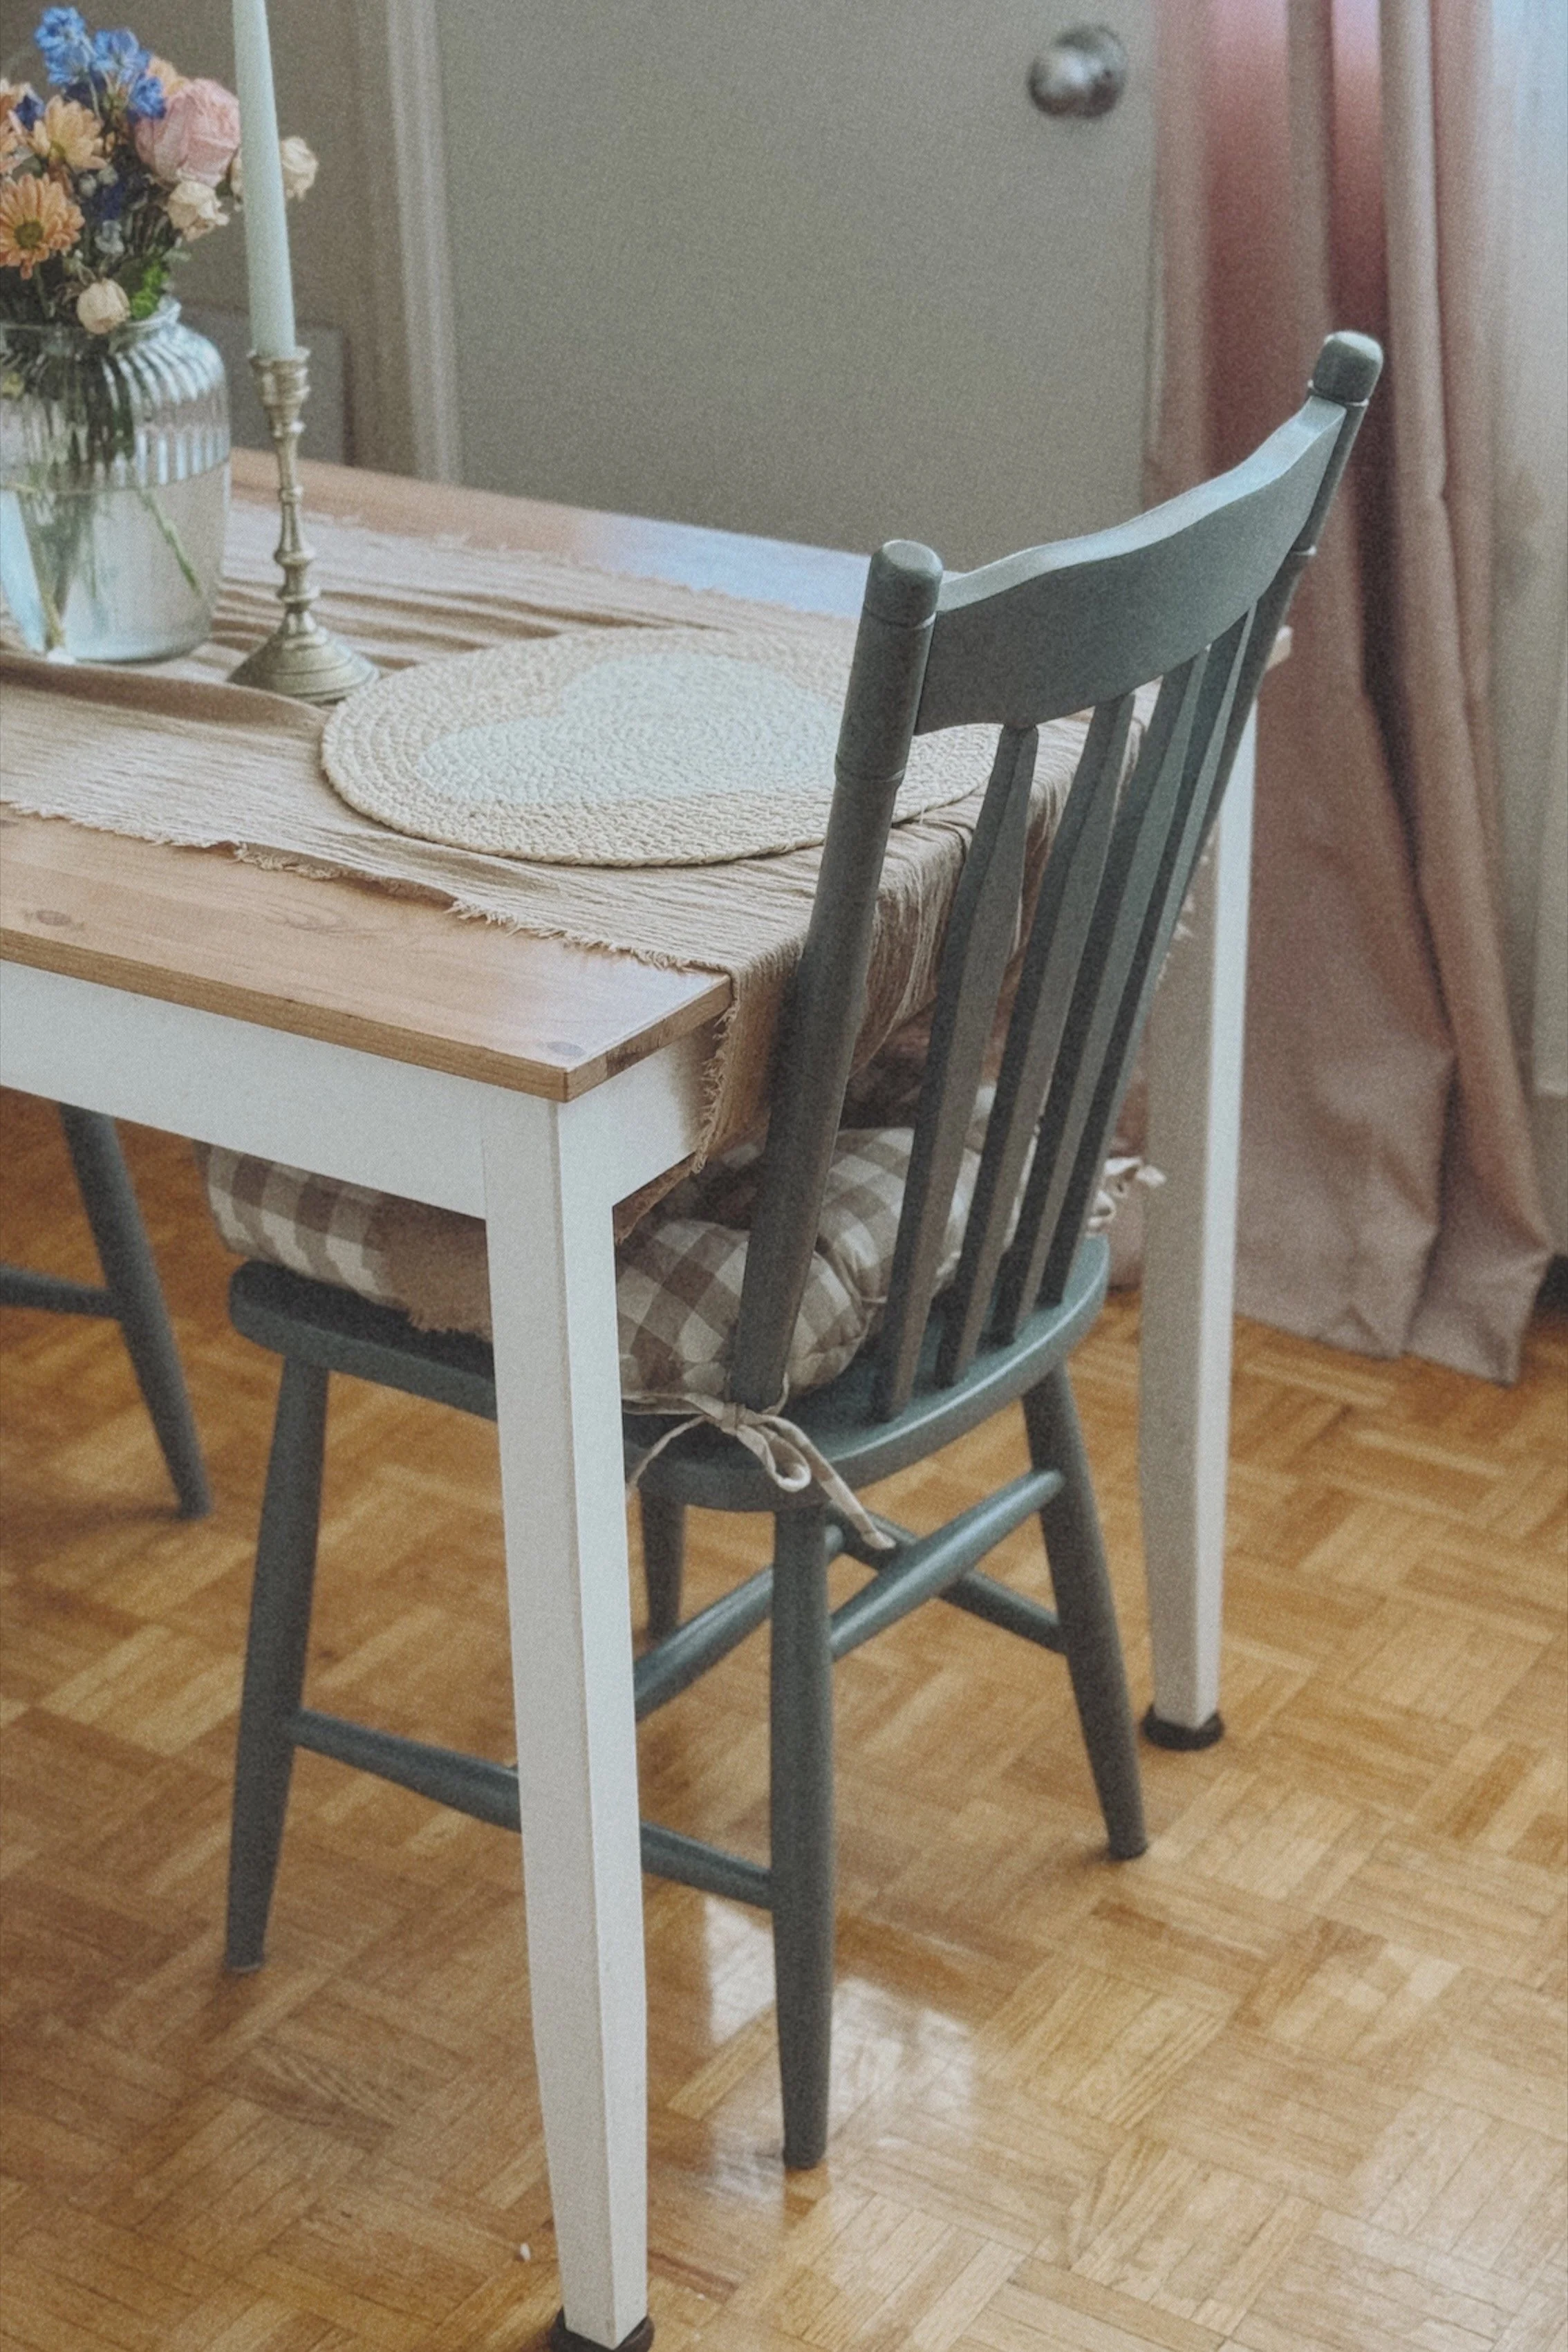
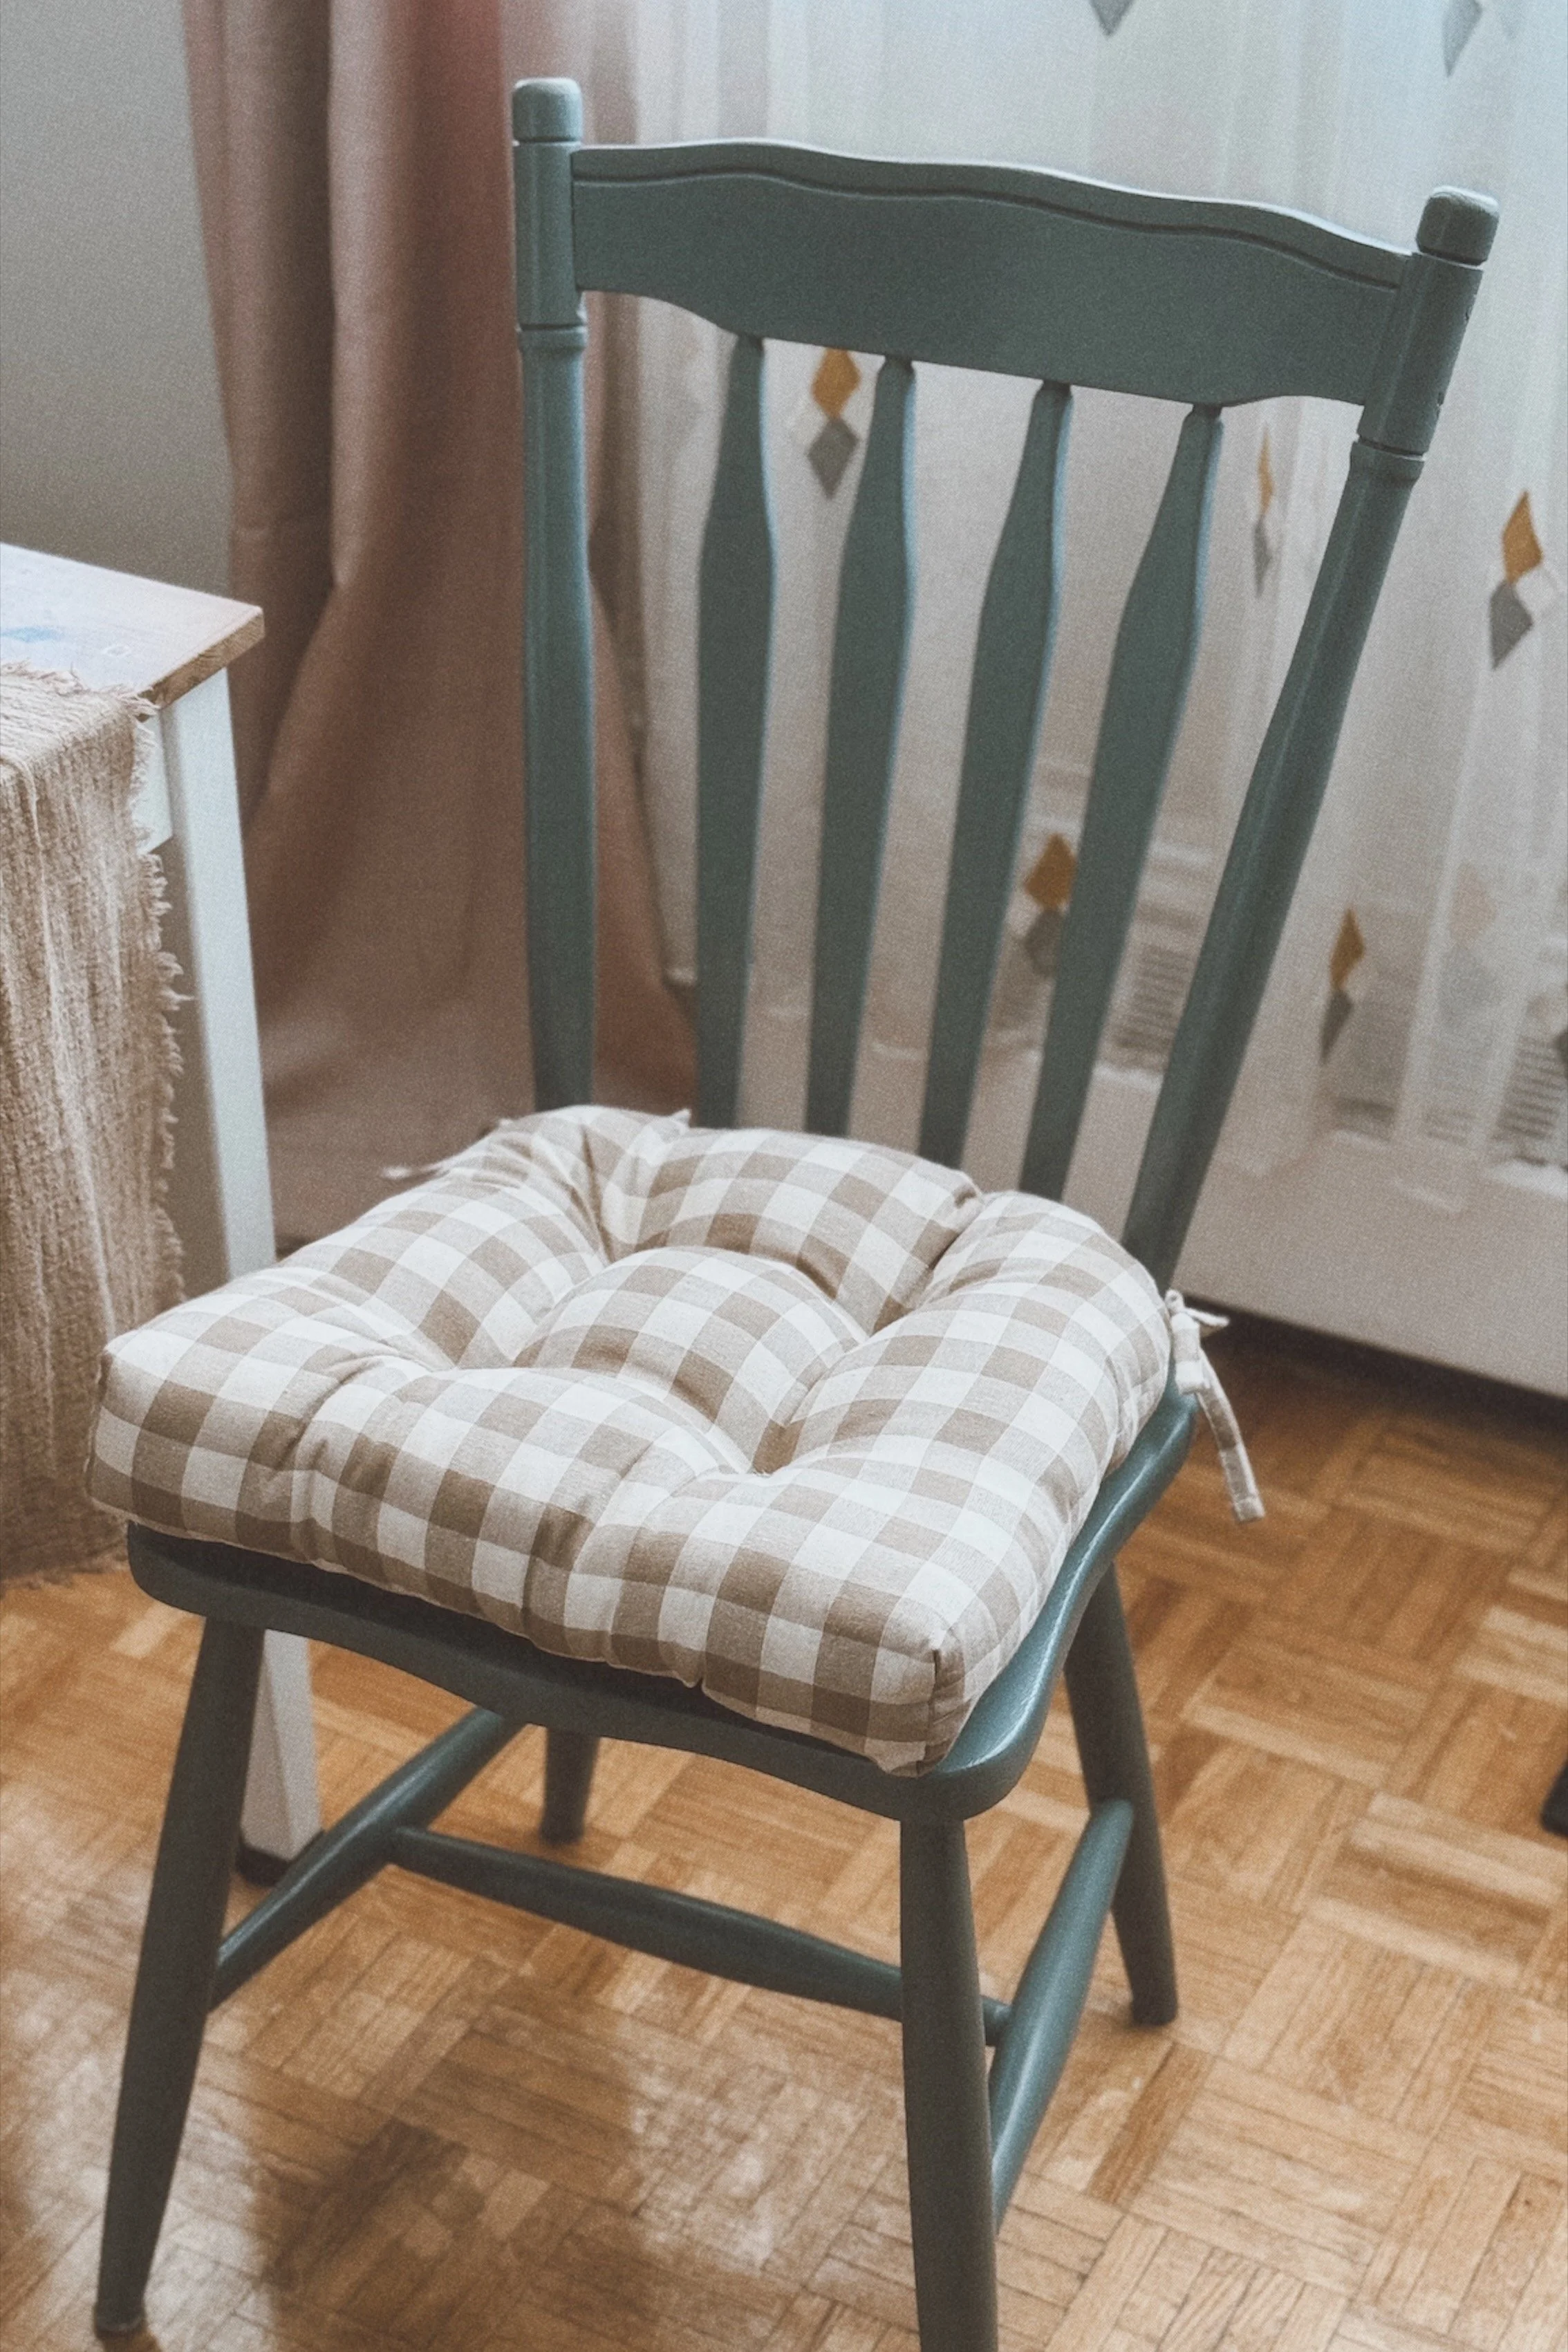
When selecting a paint colour, I knew I wanted something that was a darker blue-grey tone, and what I ended up choosing was Behr Ocean Swell, in a Satin finish. To paint two chairs, I ended up purchasing two 8-ounce cans of this paint, but only ended up using one. I would still recommend buying two, as it’s always good to have extra on hand for future touch-ups. Going one coat at a time, allowing each coat to fully dry before starting the other, I ended up doing a total of two coats of this paint on each chair, and allowing it to fully dry for a week before I applied the sealant.
To seal the chairs, I used a water-based polyurethane sealer that was recommended to me at the hardware store. A minimum of three coats needed to be applied, with a 2-hour dry time between coats. Once I applied all three coats of sealant, I allowed the chairs to fully dry for one week before using them.
To finish off the look of these chairs, since I love a farmhouse-cottage home decor style, I ordered some gingham tufted chair cushions in a warm brown tone that also protects the seat from damage. Overall, I’m so happy with how these turned out, and they were ultimately a lot cheaper than purchasing new solid-wood dining chairs. I’m hoping in the future I’ll be able to find a wooden dresser, or armoire to add to our living room, and I’d love to share that journey with you as well!
* Note: Links and linked products featured in this blog post are commissionable links. Should you purchase a product with these links, I will make a small commission at no additional cost to you.

